When it comes to ensuring your drinking water remains clean and safe, replacing your water filter cartridge is essential. Knowing how to replace a water filter cartridge correctly — and selecting the right one — can make a major difference in water quality, taste, and even your family's health. In this expert guide, we’ll walk you through the steps, tips, and insider advice you need to make smart, informed decisions.
Why Timely Filter Replacement Matters

Your water filter works tirelessly to remove contaminants such as chlorine, heavy metals, pesticides, and sediment. Over time, these filters become clogged, reducing their effectiveness and allowing harmful impurities to seep through.
Failing to replace filters on time can lead to:
-
Diminished water quality
-
Bad tastes and odors
-
Increased health risks
-
Reduced water flow and pressure
-
Shortened lifespan of your filtration system
Understanding the importance of replacing water filter cartridges helps maintain optimal performance and guarantees the cleanest, healthiest water possible.
How to Replace a Water Filter Cartridge: Step-by-Step Guide
Replacing your water filter cartridge isn't as complicated as it might seem. Here’s a simple process to follow:
1. Identify Your Filter Type
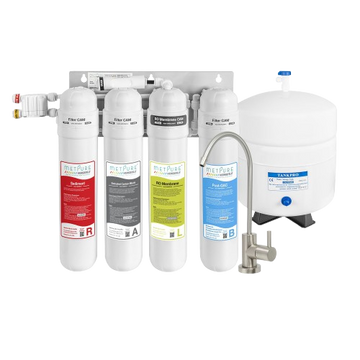
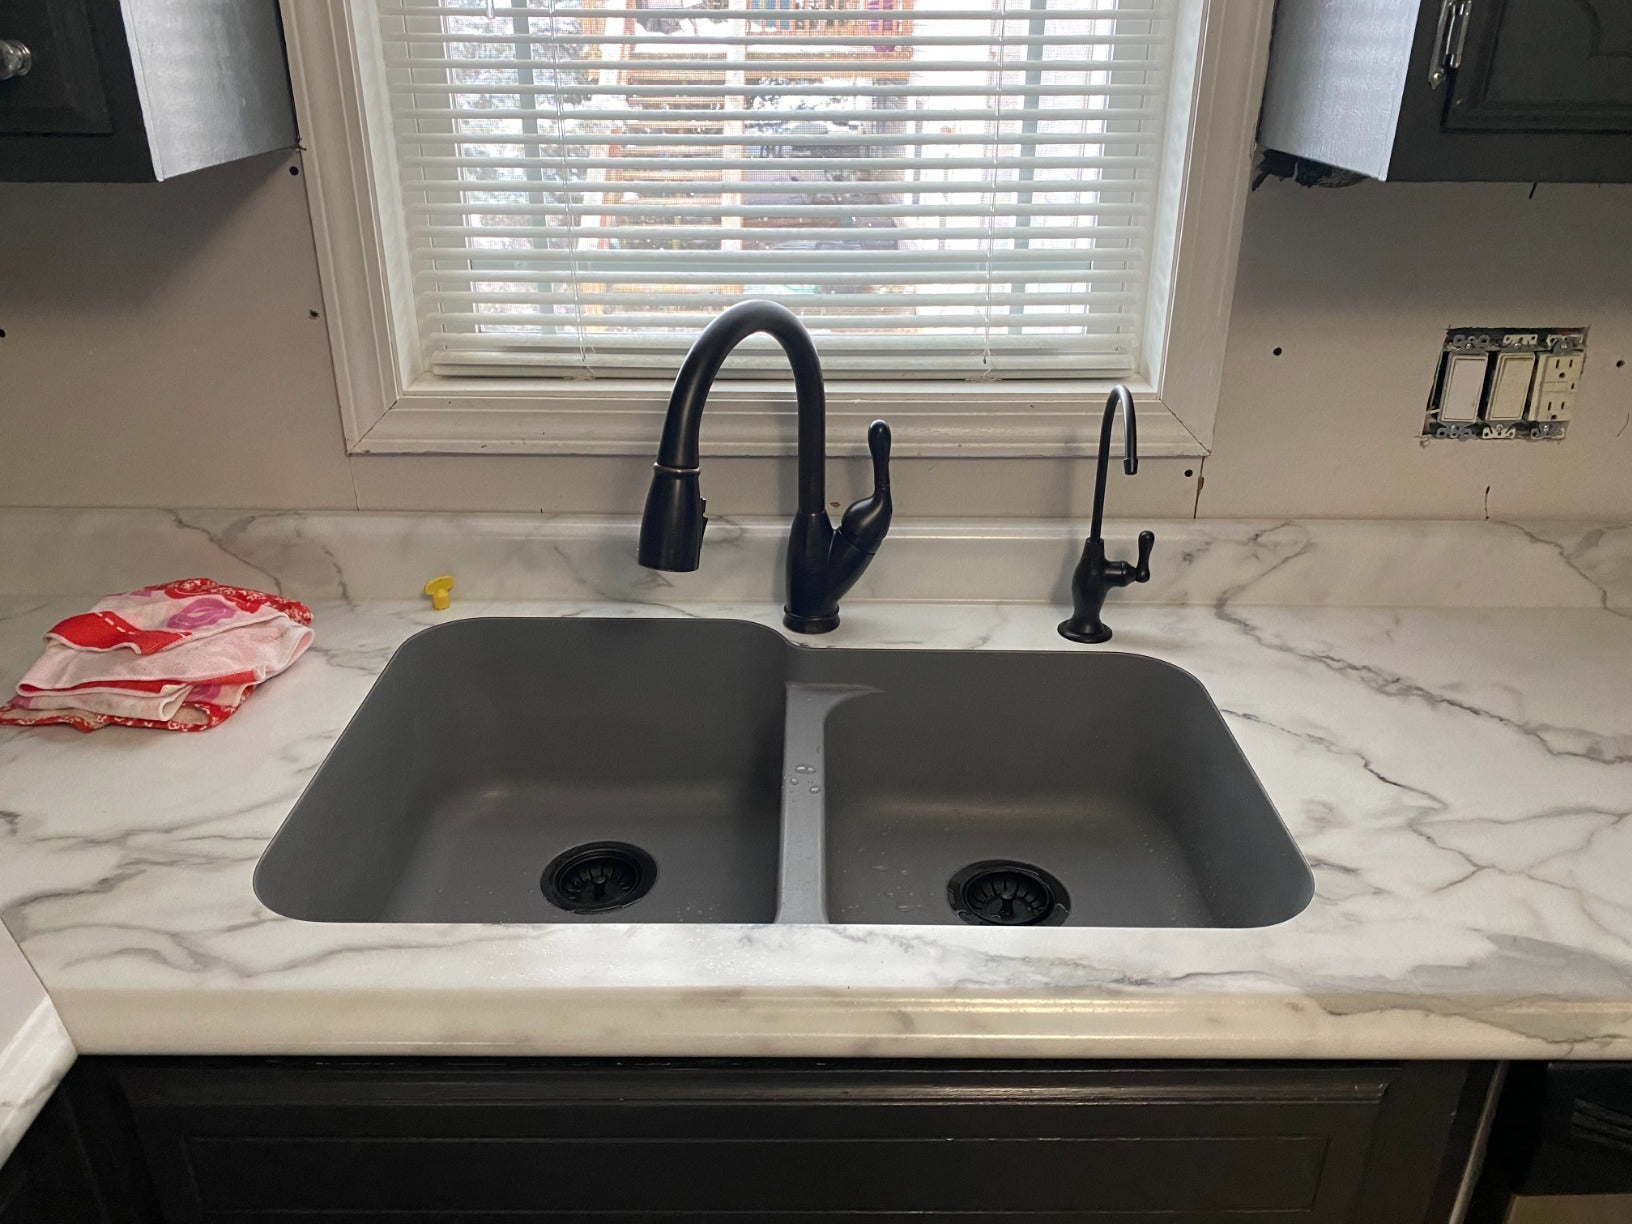
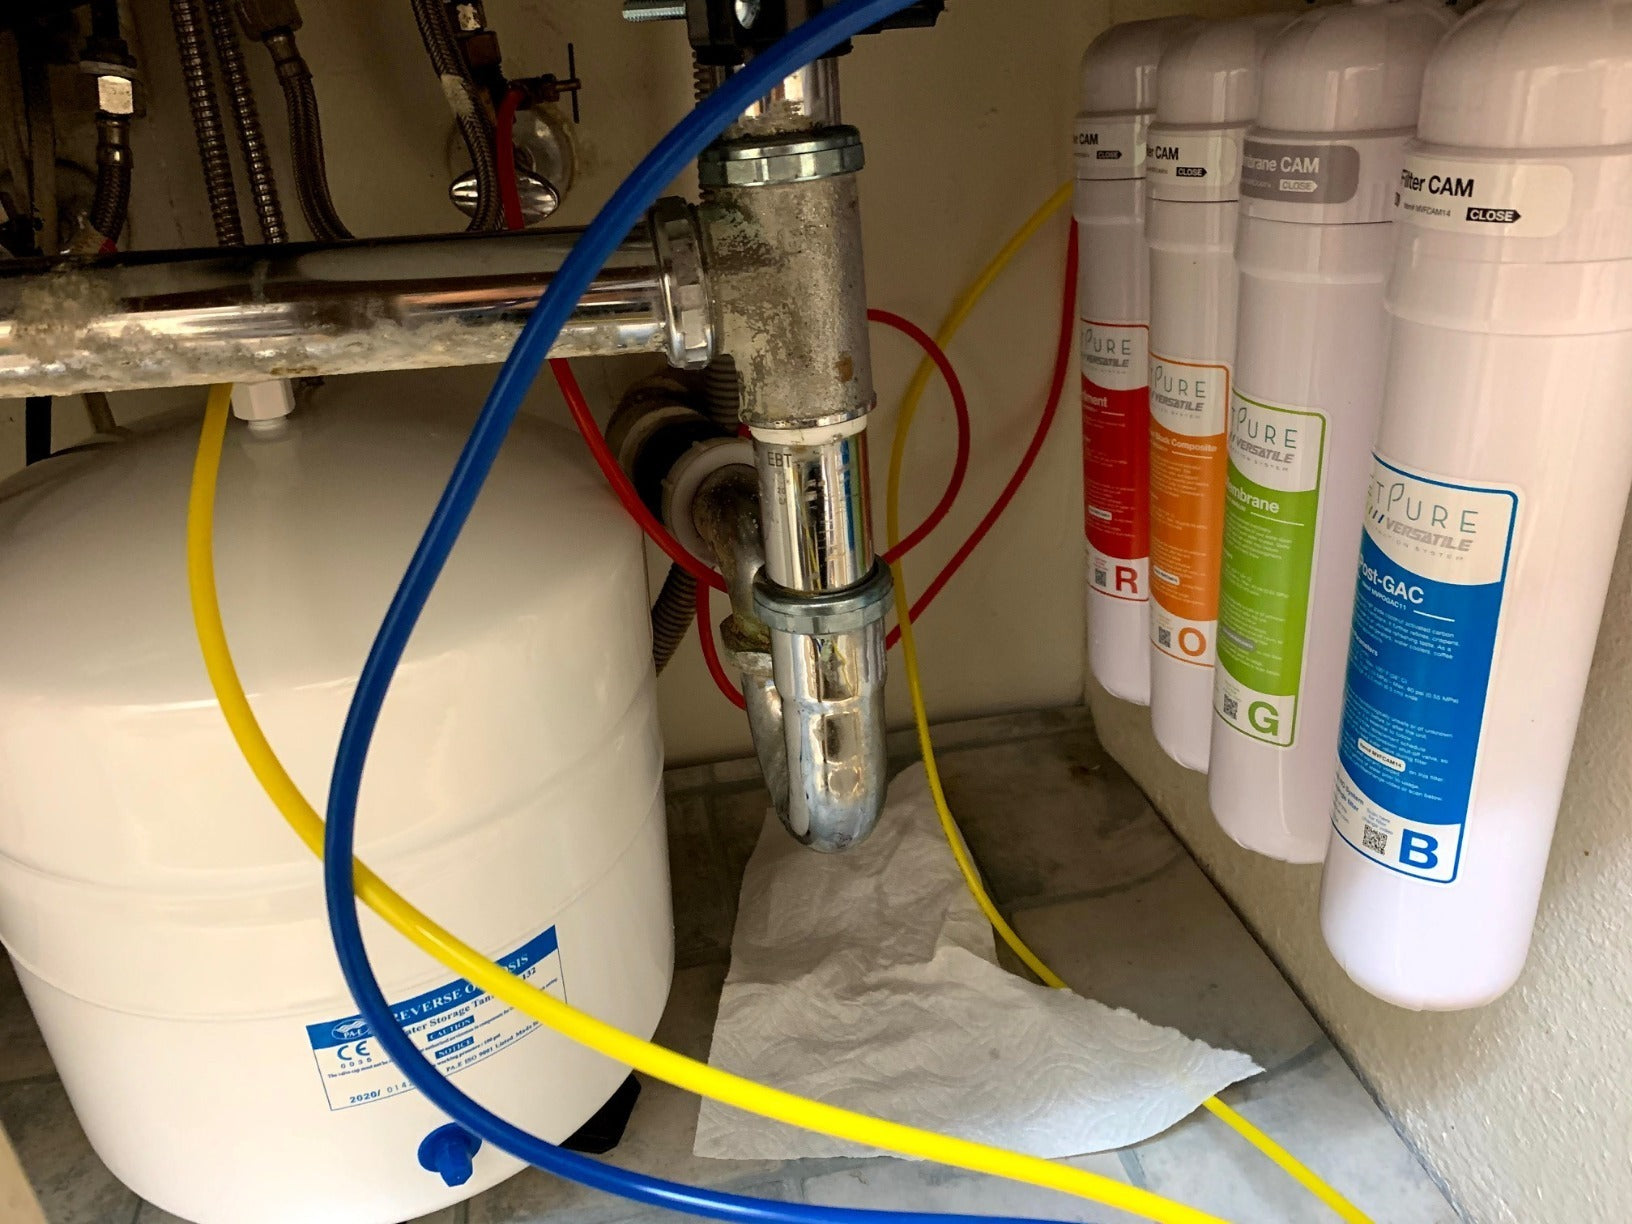
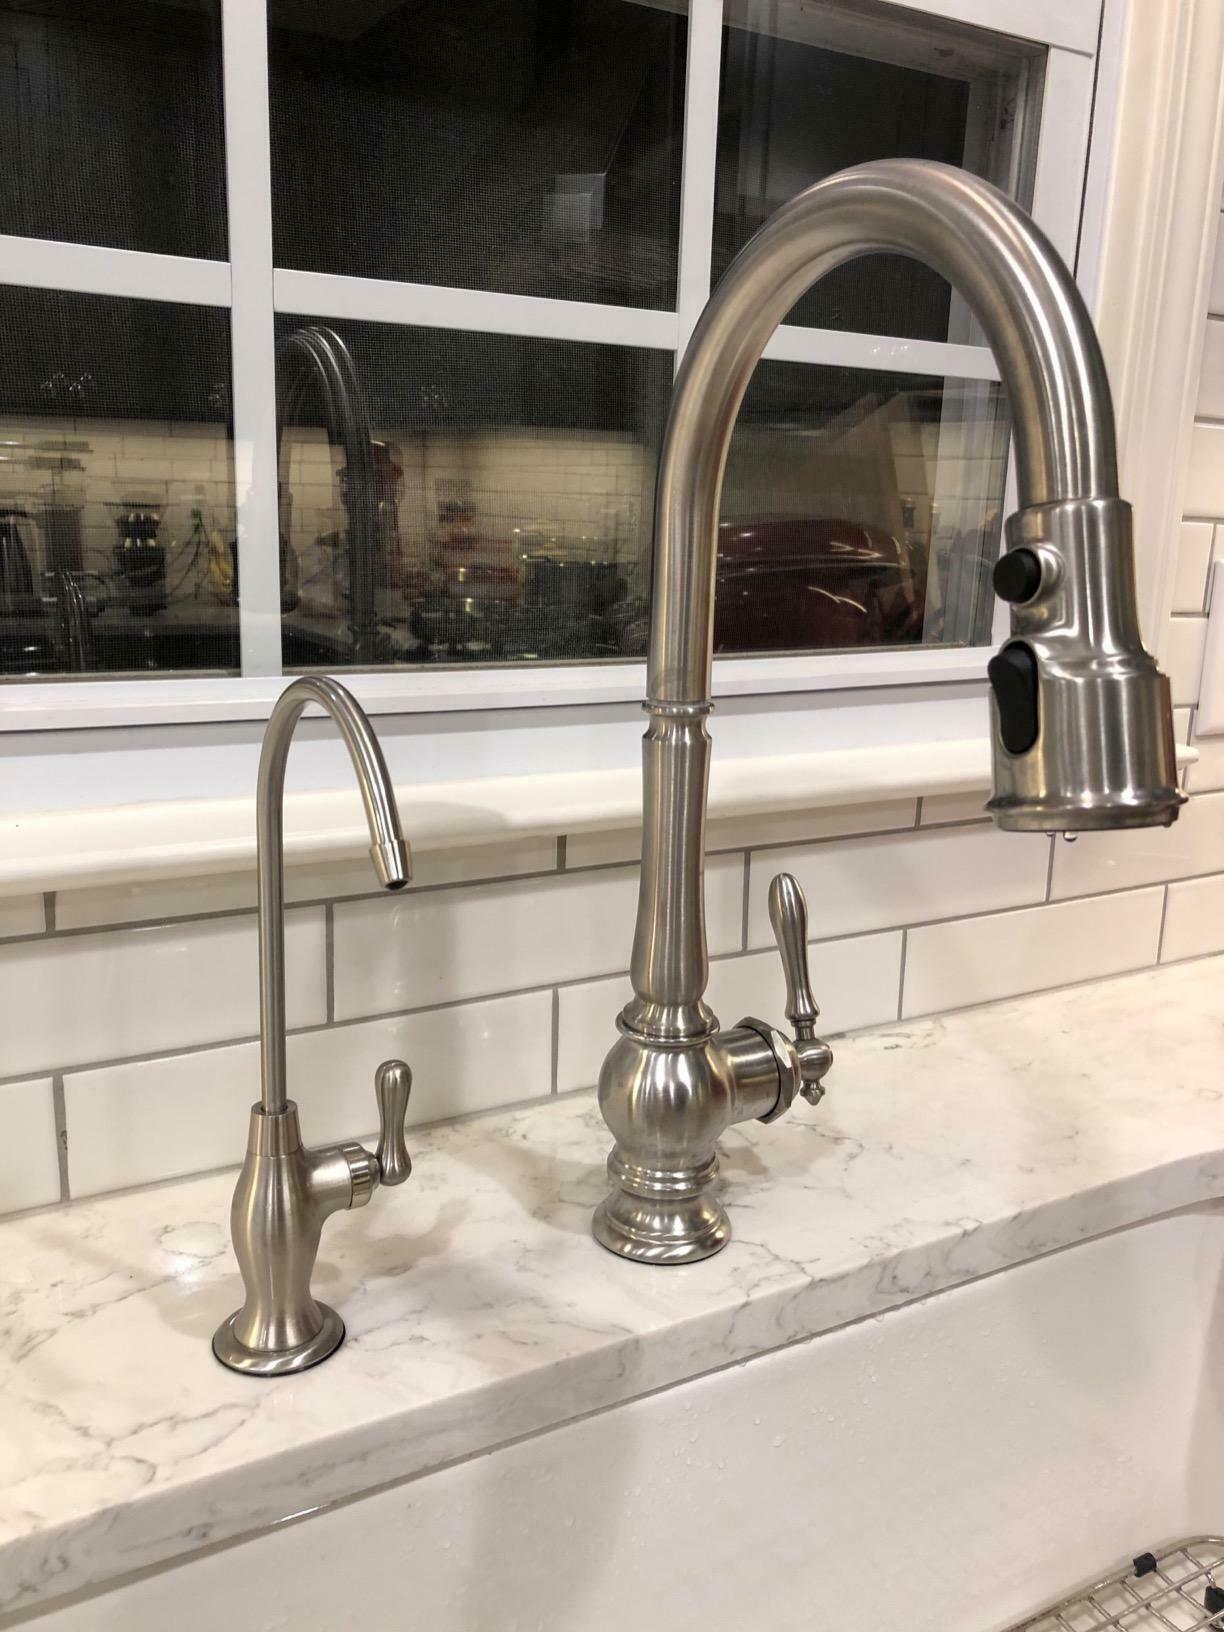
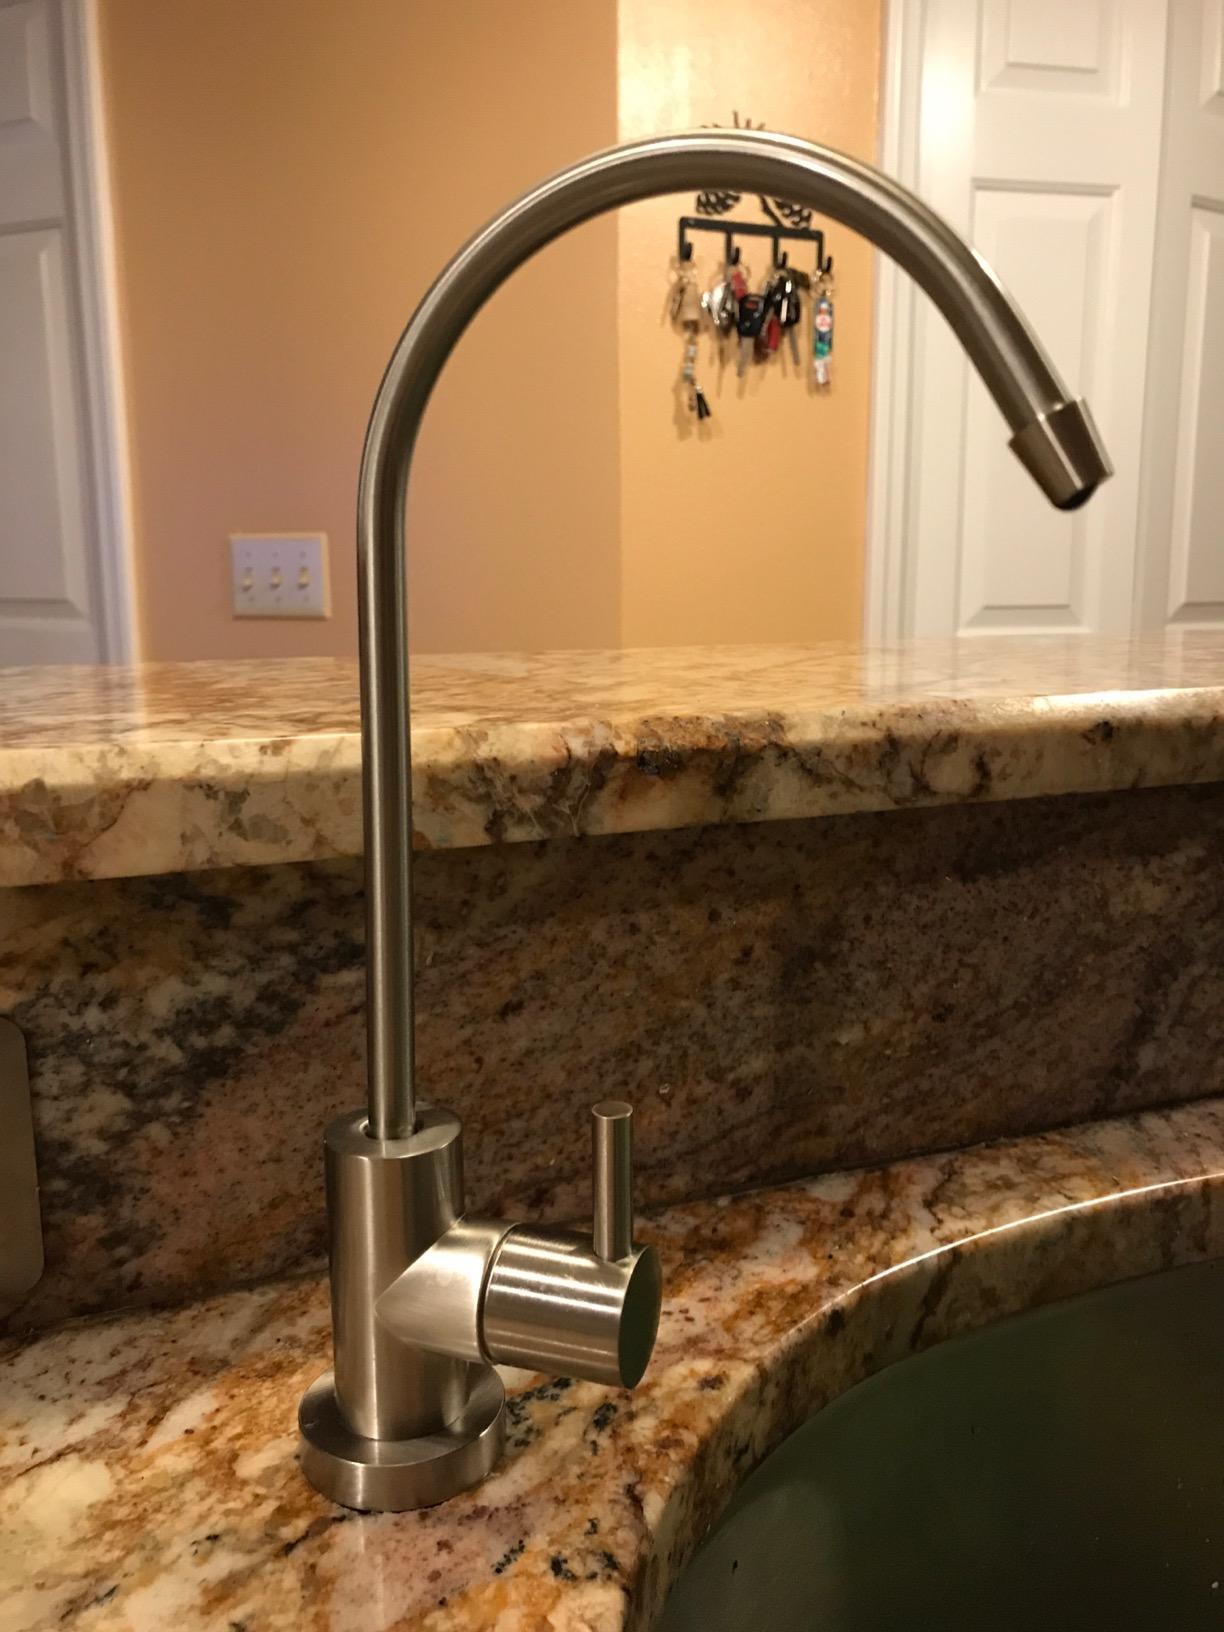
Before starting, determine the type of water filtration system you have:
-
Under-sink filters
-
Countertop units
-
Whole-house systems
-
Refrigerator water filters
-
Pitcher-style filters
Each type has unique cartridge styles and replacement schedules.
2. Shut Off the Water Supply
Turn off the water supply to the filter system to prevent leaks or spills. For whole-house systems, you may need to shut off your main water valve.
3. Release Pressure
If your system has a pressure release button, press it to relieve any built-up pressure inside the filter housing.
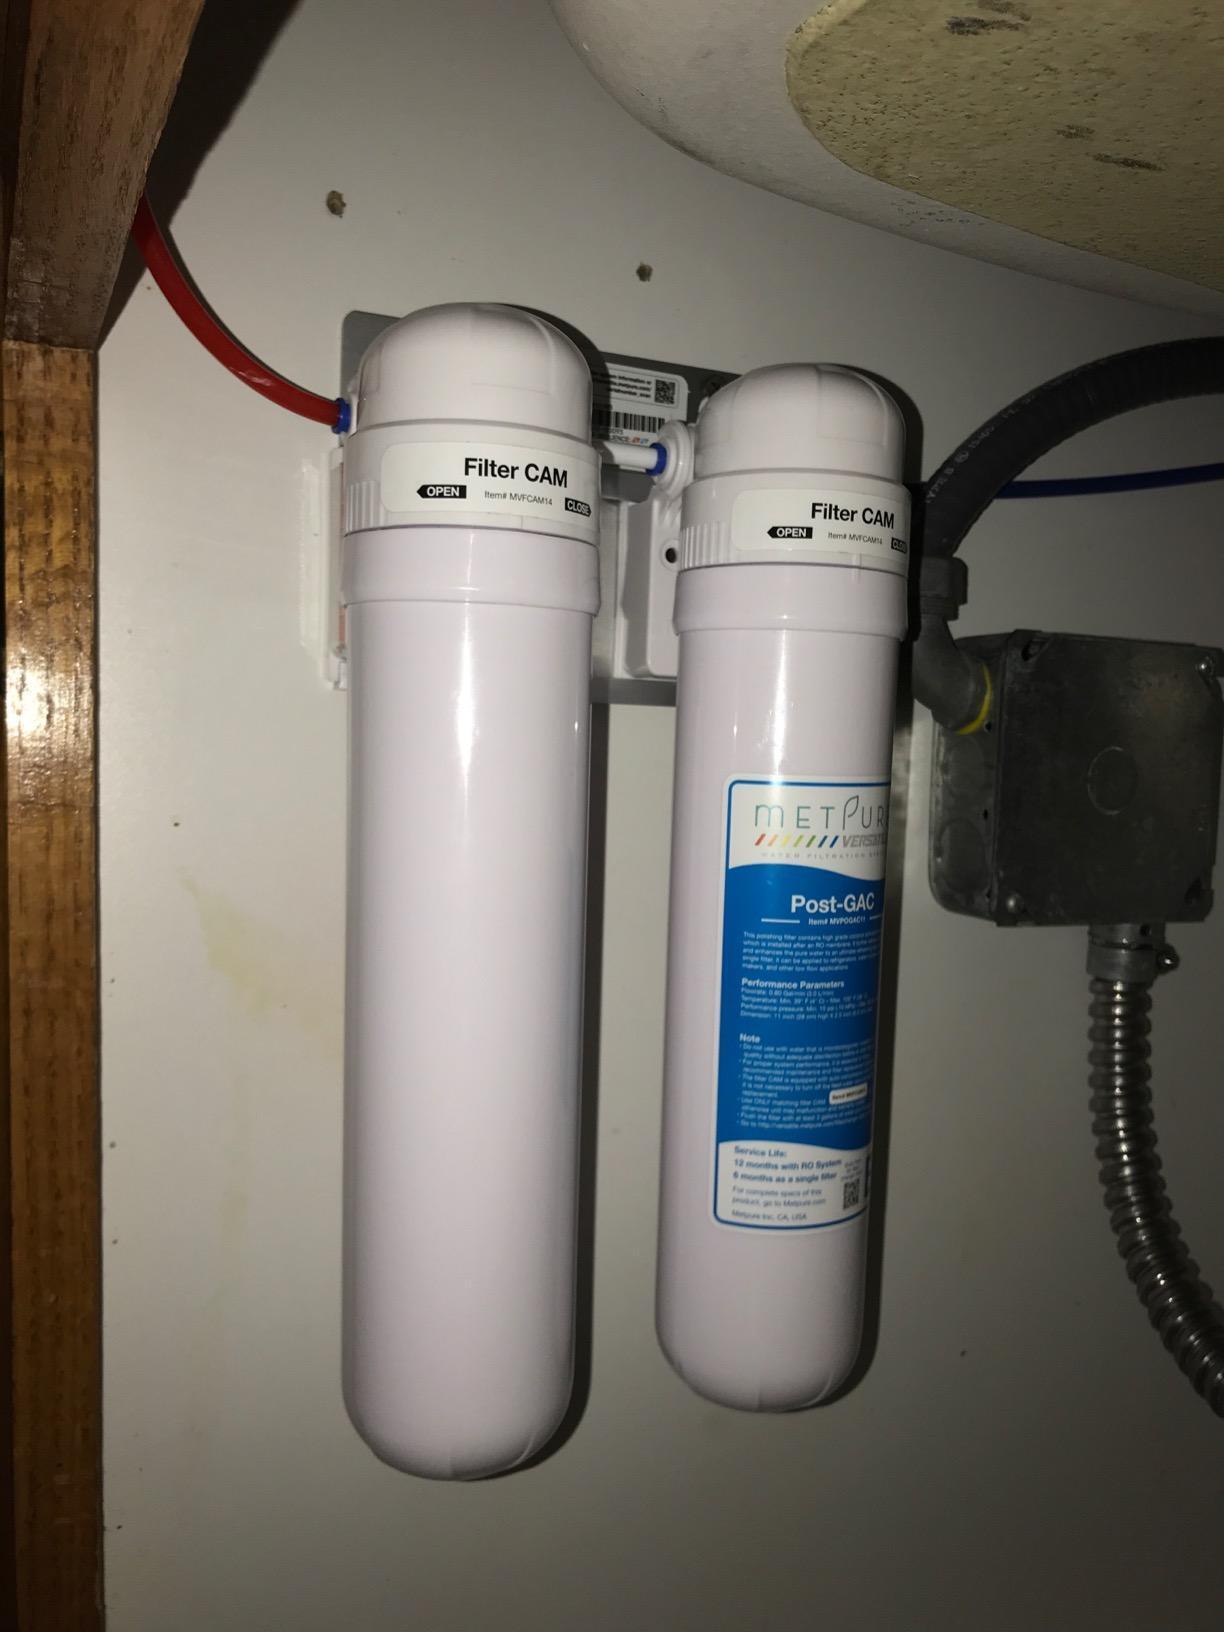
4. Remove the Old Cartridge
Unscrew the housing with a filter wrench if necessary. Take out the used cartridge carefully — it may be filled with trapped sediments and impurities.
5. Clean the Housing
Wash the filter housing with warm, soapy water. Rinse thoroughly to prevent bacterial buildup inside the system.
6. Install the New Cartridge
Insert the new replacement cartridge into the housing, aligning it properly according to manufacturer instructions.
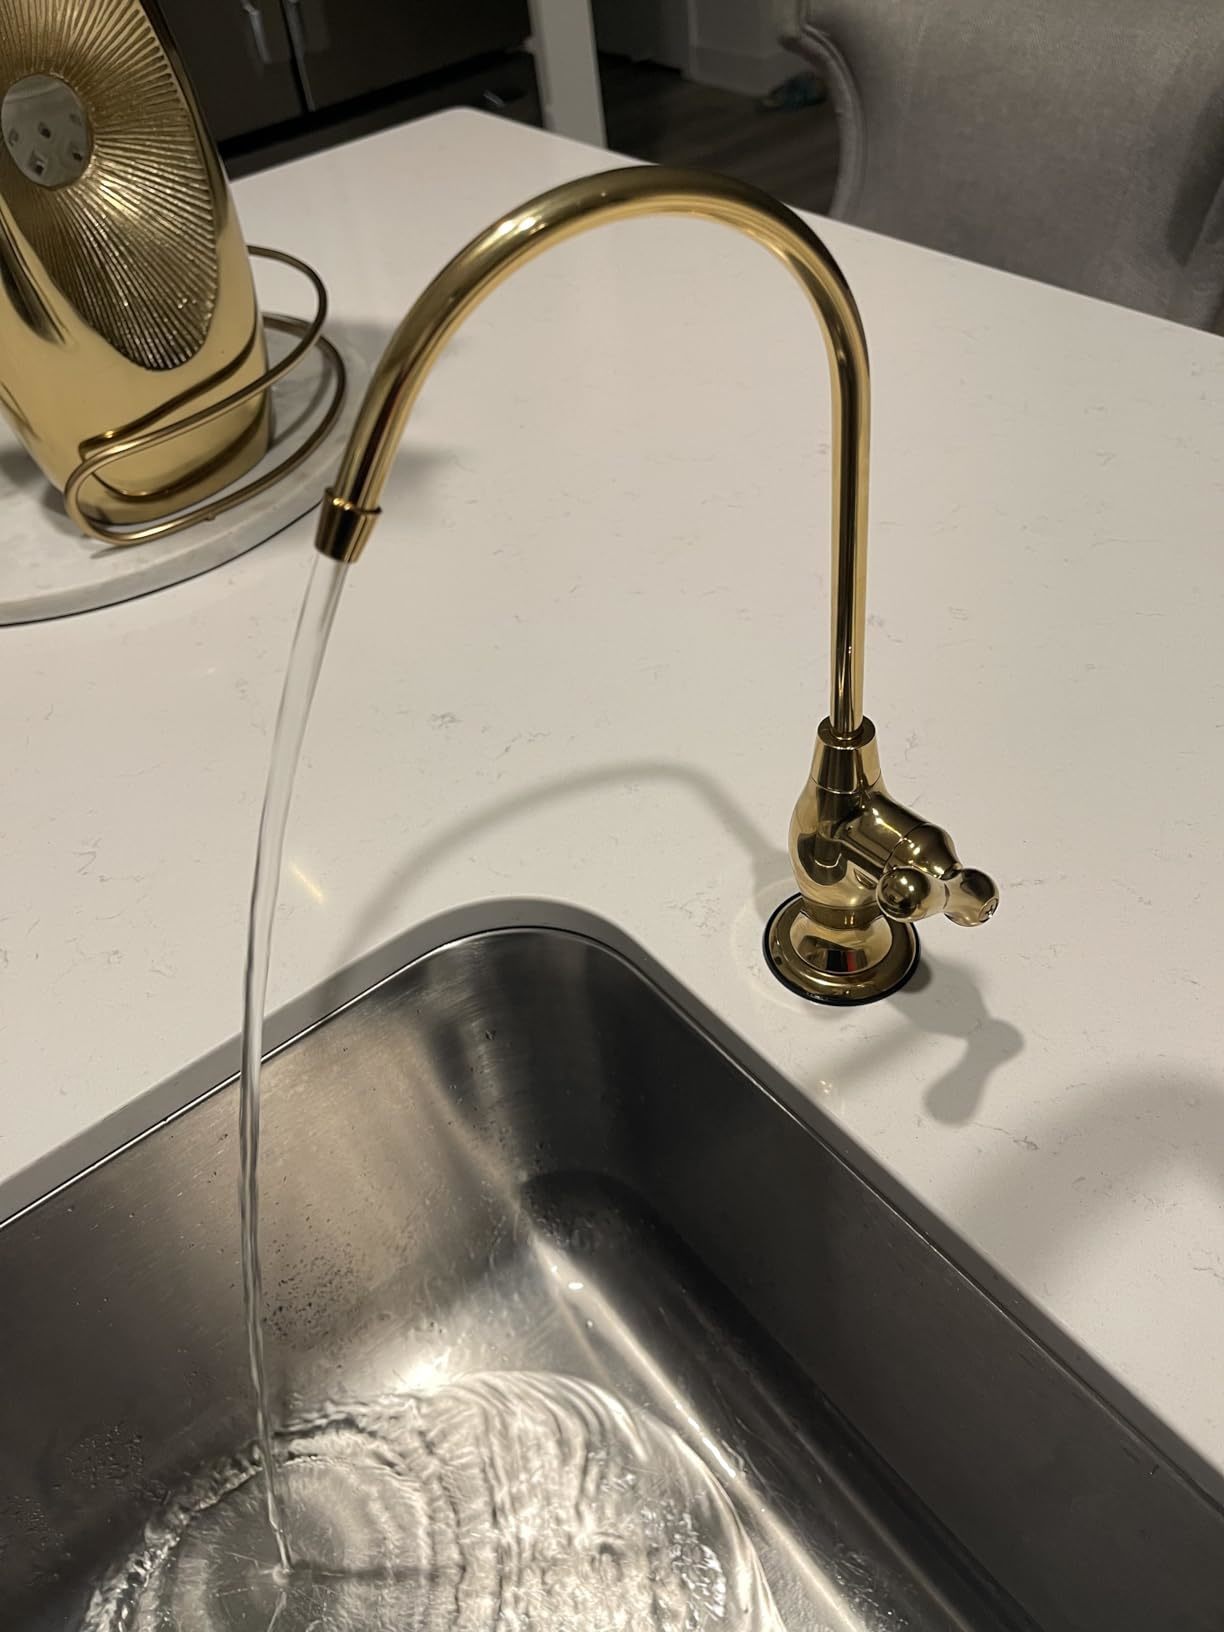
7. Reattach and Test
Secure the housing tightly. Turn the water back on and check for leaks. Flush the system for a few minutes to remove any carbon dust or loose particles from the new filter.
How to Select the Perfect Replacement Filter Cartridge
Choosing the right replacement cartridge is just as important as replacing it on time. Here's what to consider when selecting a water filter cartridge:
1. Match the Specifications
Check your system's manual or the existing cartridge for model numbers, size dimensions, and filtration capabilities. Only compatible cartridges will fit and function properly.
2. Understand the Filtration Needs
Identify what contaminants you need to filter out. Some cartridges specialize in:
-
Sediment removal (sand, dirt, rust)
-
Chlorine reduction (improving taste and smell)
-
Heavy metal filtration (lead, mercury)
-
Biological filtration (bacteria, cysts)
Choose a cartridge that meets your specific water concerns.
3. Choose Certified Filters
Always select replacement cartridges that are NSF-certified or meet other industry standards for water purification. Certified filters ensure proper contaminant removal and safe drinking water.
4. Consider Filter Longevity
Look at the filter's lifespan, usually measured in gallons filtered or months of use. Some advanced cartridges can last up to a year, while others need replacement every 3-6 months.
5. Prioritize Brand Authenticity
Whenever possible, use genuine replacement cartridges from the original manufacturer. Off-brand or generic filters may not deliver the same performance or longevity.
Signs It's Time to Replace Your Water Filter Cartridge
If you're unsure when to replace your filter, watch for these warning signs:
-
Noticeable decline in water pressure
-
Strange tastes or odors in the water
-
Visible buildup or discoloration on the filter
-
Manufacturer-recommended timeframe exceeded
-
Unusual cloudiness in filtered water
Being vigilant about these indicators can help you maintain water quality without guessing.
Tips for Maximizing Filter Efficiency
Here are a few expert tips to make sure your new cartridge performs at its best:
-
Flush New Filters: Always flush newly installed filters as recommended to remove any loose particles.
-
Track Replacement Dates: Set reminders or label your filter with the installation date.
-
Regular System Cleaning: Clean the system housing at every cartridge change to avoid bacterial buildup.
-
Use Pre-Filters When Needed: In areas with heavy sediment, using a pre-filter can prolong your main cartridge’s life.
Conclusion: Take Control of Your Water Quality
Learning how to replace a water filter cartridge and selecting the right one is a simple yet powerful step in ensuring your drinking water remains pure, safe, and healthy.
By understanding your system, replacing filters on time, and choosing certified, compatible cartridges, you take proactive control of your water quality — protecting your health and enhancing your daily life.
Don't wait for cloudy water or strange tastes to remind you — stay ahead by making filter replacement part of your regular home maintenance routine.