A dripping shower head is not only annoying, it can waste water and lead to expensive repairs. Fortunately, there are several easy fixes for this common problem.
Start by turning off your water supply to the shower. Next, unscrew your shower head and soak it in vinegar or a commercial solution like CLR to dissolve any mineral deposits.
1. Loose Valve Connection
A leaking shower head may indicate that the connection between the shower arm and the supply pipe has become loose. This usually happens because no teflon tape or pipe thread sealer was used to make the connection water tight.
To fix this, you will need to turn off the water supply and disassemble the valve. Using a wrench, you will need to unscrew the collar nut and separate the handle from the shower head. After this, you can try spraying a lubricant on the valve where the handle enters to help loosen it. Alternatively, you can also soak the handle in a vinegar solution to help dissolve mineral deposits that are preventing the valve from closing properly.
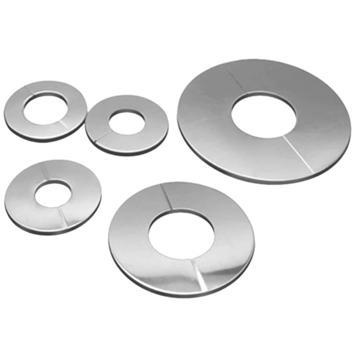
Once you have reassembled the valve, you can then screw it back onto the shower arm and use plumber’s tape to ensure there is a watertight seal. Remember to also replace the washer and O-ring if they are cracked or worn out. You can find these at a local plumbing or hardware store.
2. Damaged Inner Seal
A shower head leak usually happens due to worn or degraded rubber washers and O-rings within the plumbing hardware. These are responsible for forming a tight seal between the shower head and piping that stops water from seeping through. Due to continuous use these can wear out or become brittle and cause leakage.
To fix this, start by turning off your water supply. Locate the water shut-off valve built into your bathroom and turn it off. This will prevent water from continuing to flow through the fixture as you work on it.
Carefully unscrew your shower head by hand, and search for signs of accumulated mineral deposits and debris inside the plumbing. Once you remove the shower head, soak it in white vinegar for 8 hours and clean it with a brush to remove any remaining mineral build-up and dirt. After cleaning, screw the shower head back on with new pipe thread-sealing tape to ensure a secure fit.
3. Damaged Washer
When you have high water pressure in your home, it can put a lot of stress on plumbing fixtures. Over time, this can damage rubber washers and seals within your shower head. This is one of the more common causes of shower head leakage. Replacing these components can help eliminate the issue.
You can check the condition of your washers and seals by turning off the water supply to your shower, unscrewing the head from the pipe and examining it. Make sure to turn the water back on when you’re finished. If you notice any signs of wear, replace the old washer and seals.
You can also clean your shower head by soaking it in vinegar or using a commercial product. This will remove any mineral deposits that can restrict water flow and cause leaks. Screw your shower head back onto the piping, apply new pipe thread sealing tape and turn the water back on to test your repair job.
4. Damaged Valve Cartridge
There are several factors which usually result in shower head leakage including worn out O rings and rubber washers that make a seal around the water pipe. It is a good idea to inspect these components every six months to ensure they are in good condition. If you find that they are not, simply replace them and tighten the connections securely. It also helps to regularly clean your shower head and soak it in a vinegar solution to break down mineral build up.
In the event that you cannot solve your leaking shower head problem using the above methods, the most likely culprit is a damaged valve cartridge. In order to repair this, you will need to remove the old cartridge from the faucet and replace it with a new one. It is best to lubricate the new cartridge first in order to make it easier to insert into the faucet. Once it is seated, you can reattach the retaining clip, face plate, escutcheon, and handle.