Introduction
Replacing a kitchen faucet might seem tricky, especially when it comes to getting rid of the old one. Sometimes, you'll find tricky situations like rusty pipes or nuts that are hard to reach.
But don't worry! Putting in a new faucet is actually pretty easy.
The instructions that come with your new faucet are usually all you need to do the job. If everything goes smoothly, you could have your new faucet ready to use in about an hour.
In this article, we'll guide you through the simple steps of replacing your kitchen faucet and help you tackle any tough spots along the way.
Tools You May Require
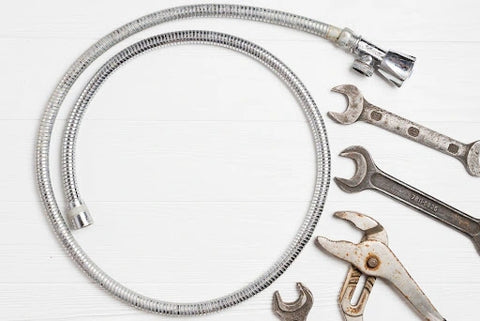
To learn how to replace a kitchen faucet, you might need to visit the hardware store a couple of times to get all the parts you need. But to make things easier, check out this list before you go shopping.
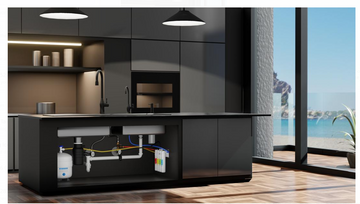
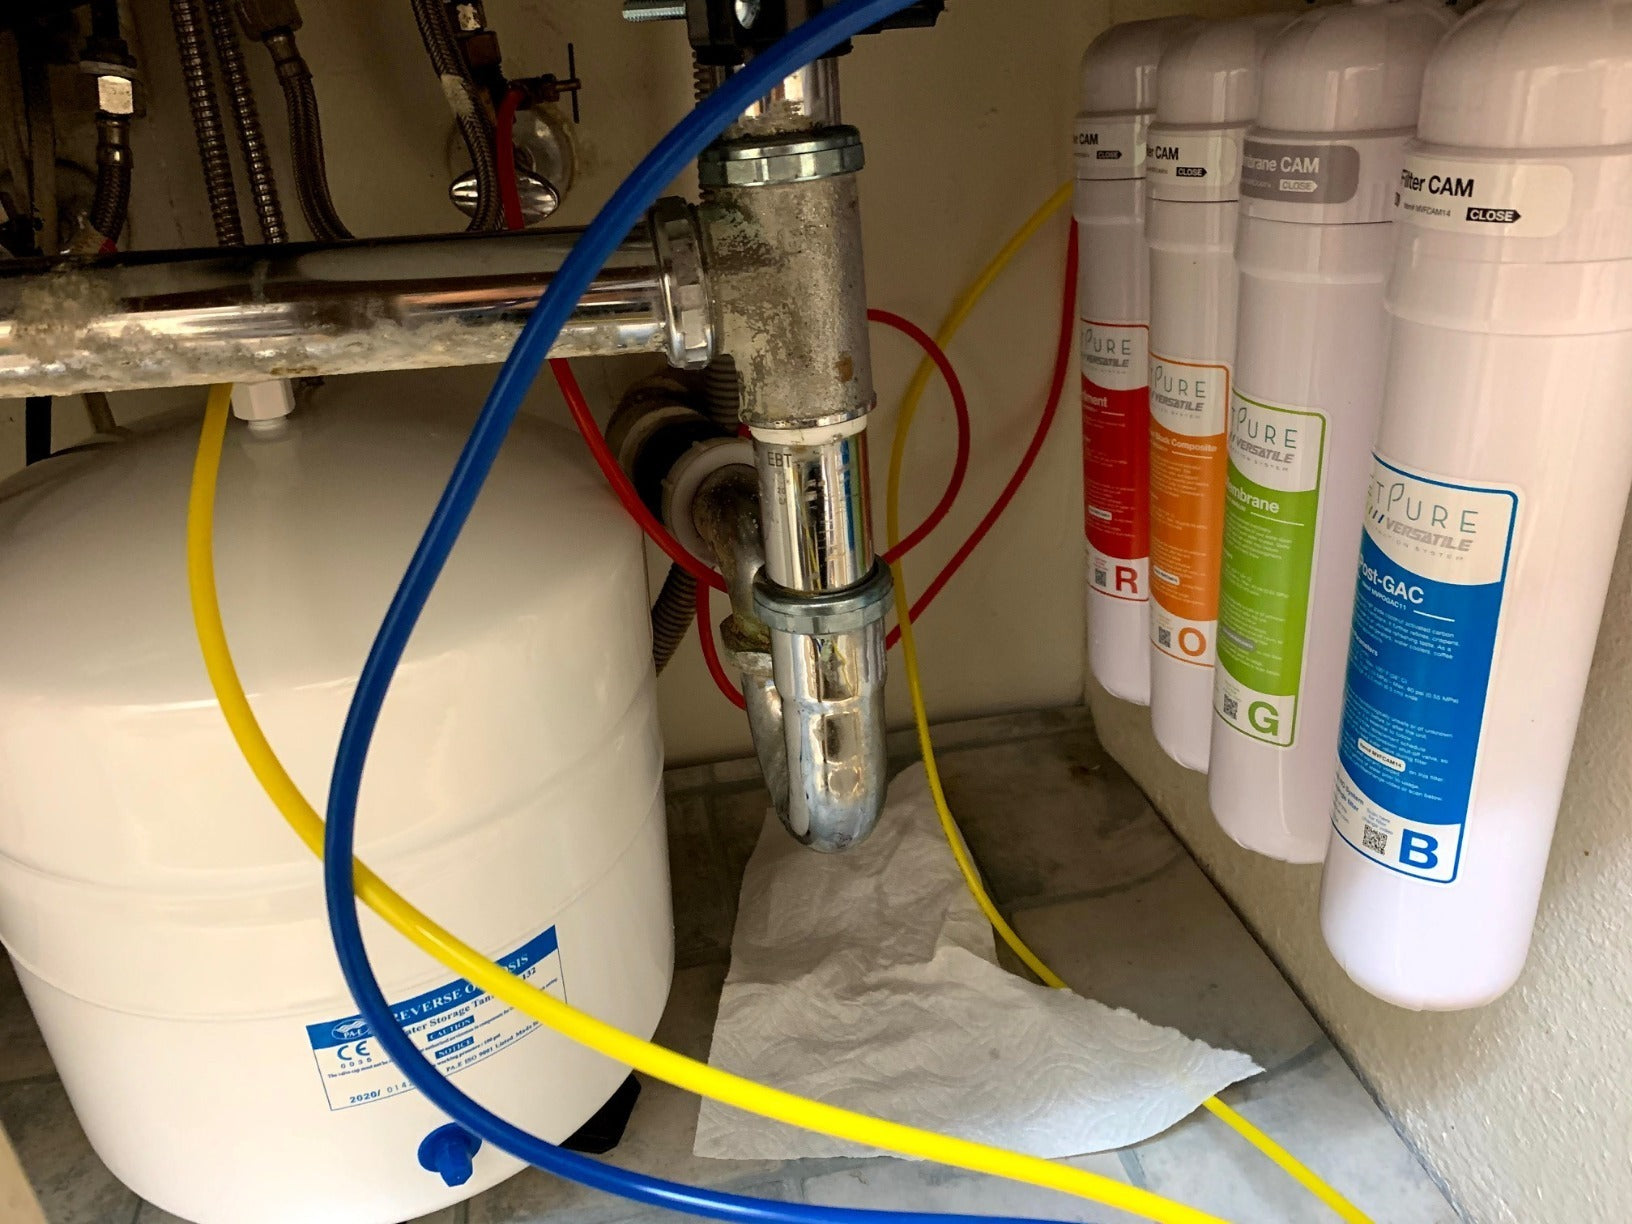
First off, check under your sink to see if there are shutoff valves supplying water to the faucet. If you don't have them, you'll need to add them. And if you already have them, make sure they work properly by turning on the hot and cold water at the faucet and shutting off the valves.
If there's still a drip, you might need to install new ones.
Most likely, you have 1/2-inch copper supply pipes. If that's the case, put easy-to-install "compression fitting" valves on your shopping list.
If not, buy valves that match your pipes.
Then, measure the existing supply tubes and buy new stainless steel-sleeved supply tubes. These tubes are built to last and can be bent around obstacles without getting damaged.
You'll also need to grab a basin wrench. This special wrench is great for reaching and removing the tricky fasteners that hold older faucet assemblies in place. A basin wrench has jaws that can pivot, making it easier to work in tight spaces.
If you have to take out drain lines to get to the faucet, you'll need a pipe wrench or slip-joint pliers. And for cutting copper tubes, get a regular tubing cutter. But if your copper supply lines are close to the back of the cabinet, get a special mini tube cutter instead. You'll also want a set of open-end wrenches for disconnecting and reconnecting the water lines.
Pro-tip: Before you disconnect the drain lines, take a picture or make a sketch of how everything is laid out. This will help you when it's time to put everything back together.
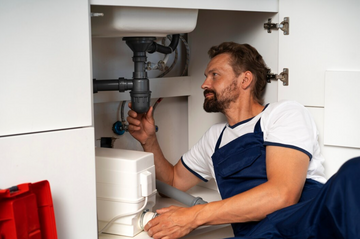
Removing The Old Faucet
Before you put in your new faucet, you've got to get rid of the old one. Here's how to do it!
First, empty out everything from inside the sink cabinet. Take out all the cleaning stuff and other things you've stored there. Lay down an old towel so you're not lying on any leftover cleaning stuff while you work.
Lie down under the sink and see if you can reach the faucet easily. If you can, skip ahead to the next step. If not, you'll need to move things out of the way.
The pipes and P-traps that drain the sinks might be in your way. It's okay to take them out. And if they're old and rusty, it's a good idea to replace them with new ones. If you have plastic drain parts, you can probably reuse them.
Check out: Selecting the best faucet supply lines for your bathroom or kitchen
Find the pipes coming out of the wall for hot and cold water. Turn off the valves on them by twisting them clockwise. Then, disconnect the hose that runs to the faucet. Keep a bucket nearby to catch any water that comes out.
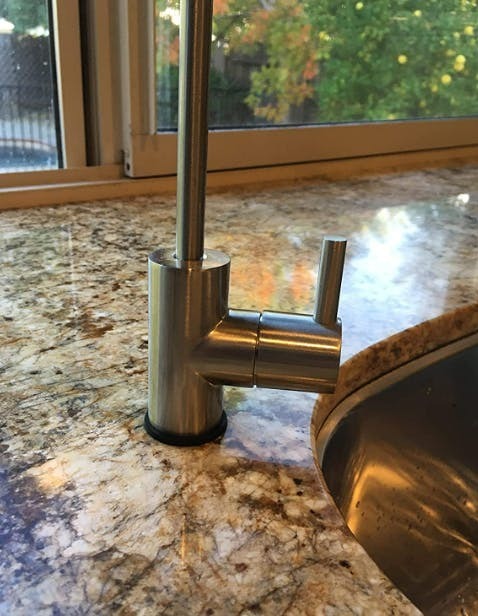
Look under the sink where the faucet is connected. There's a nut holding a brace against the sink. You can use a little bit of oil to loosen it.
With these steps, you'll be ready to remove your old faucet and make way for the shiny new one!
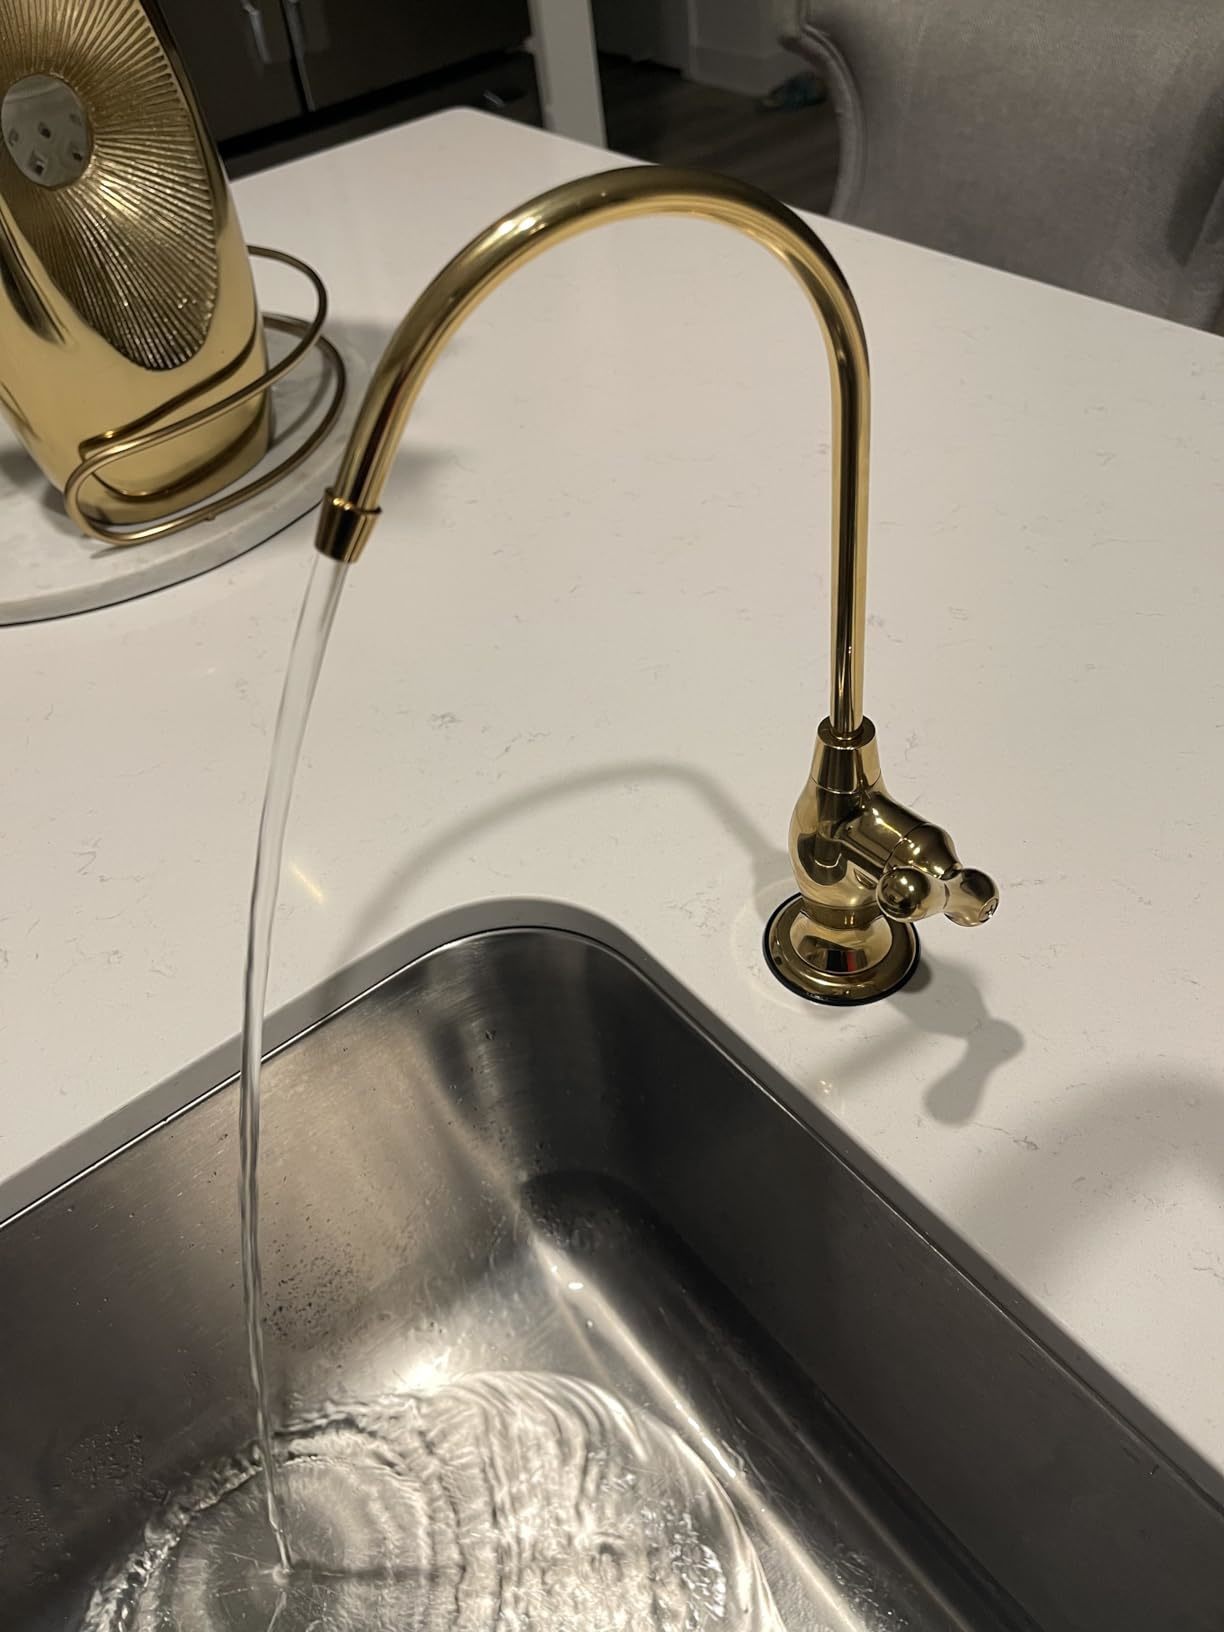
Installing The New Faucet
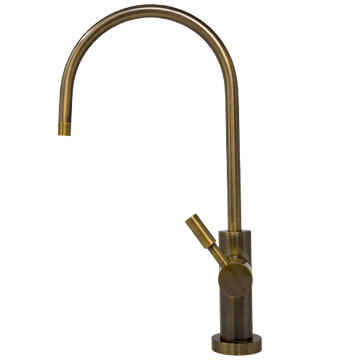
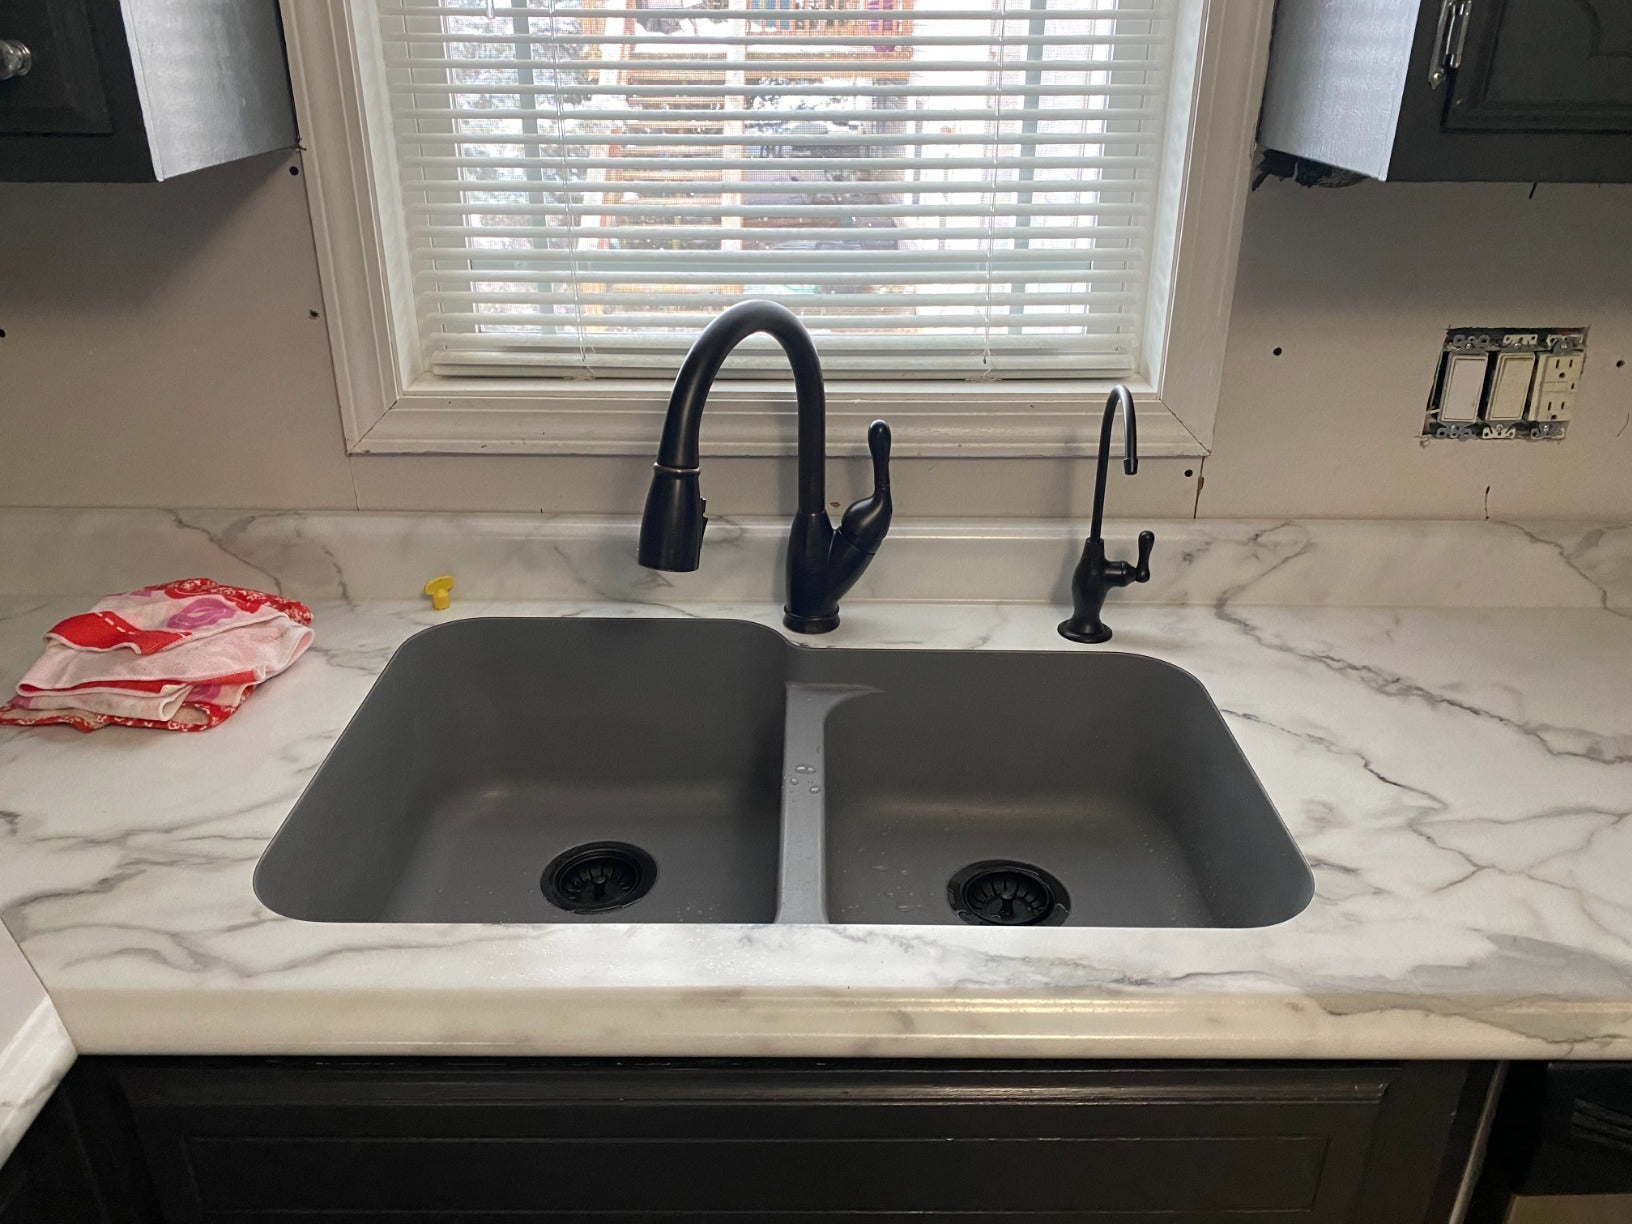
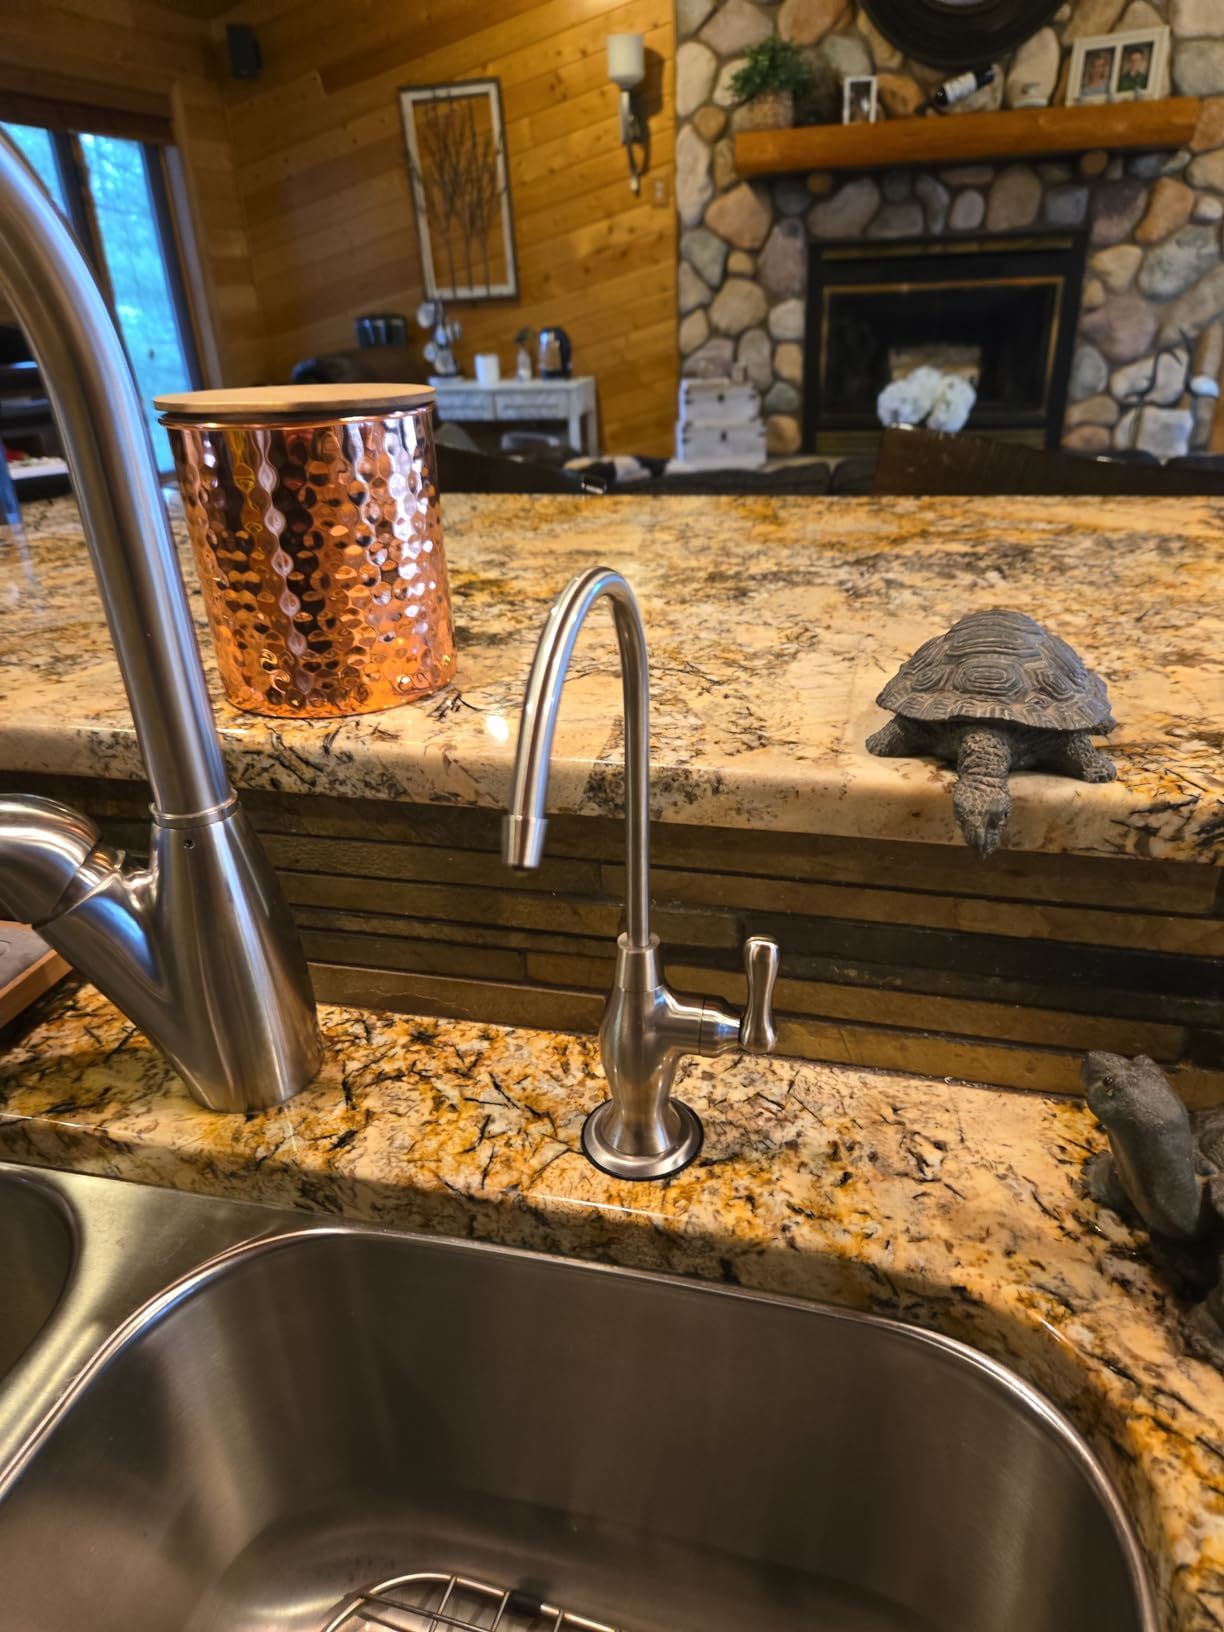
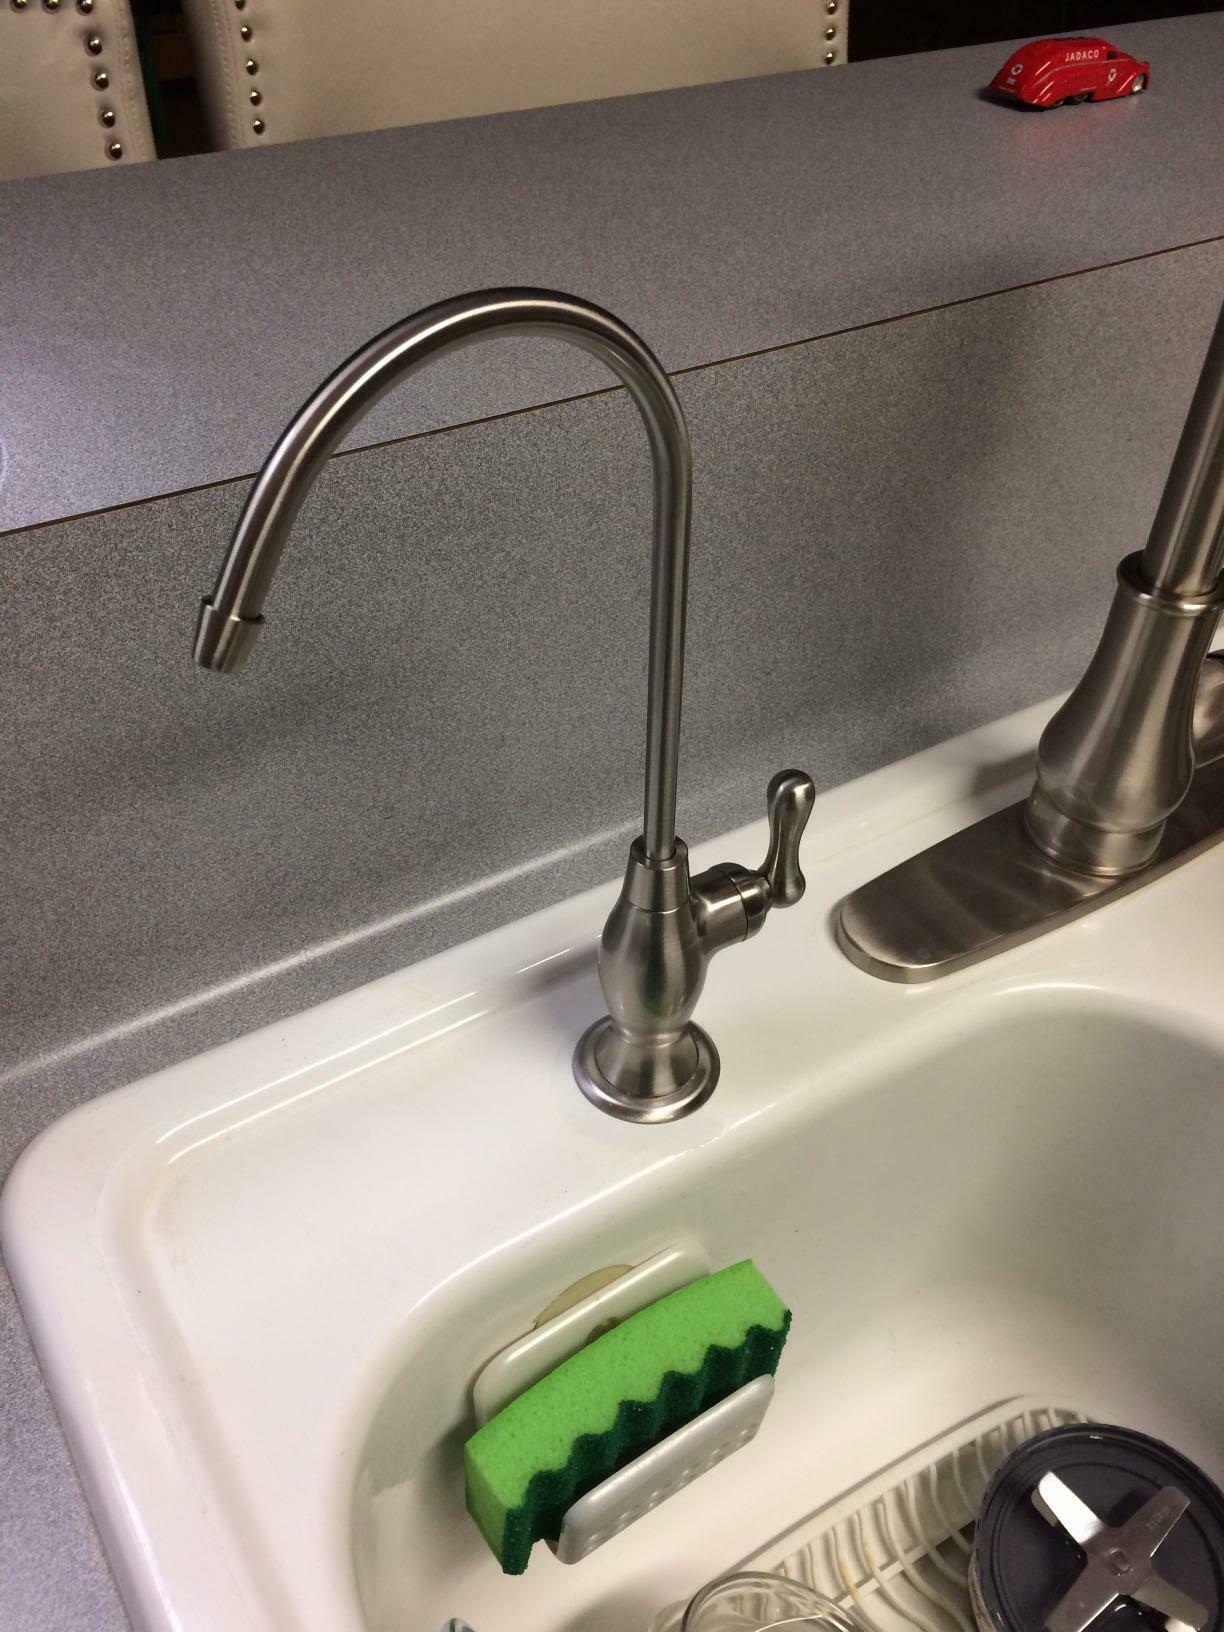
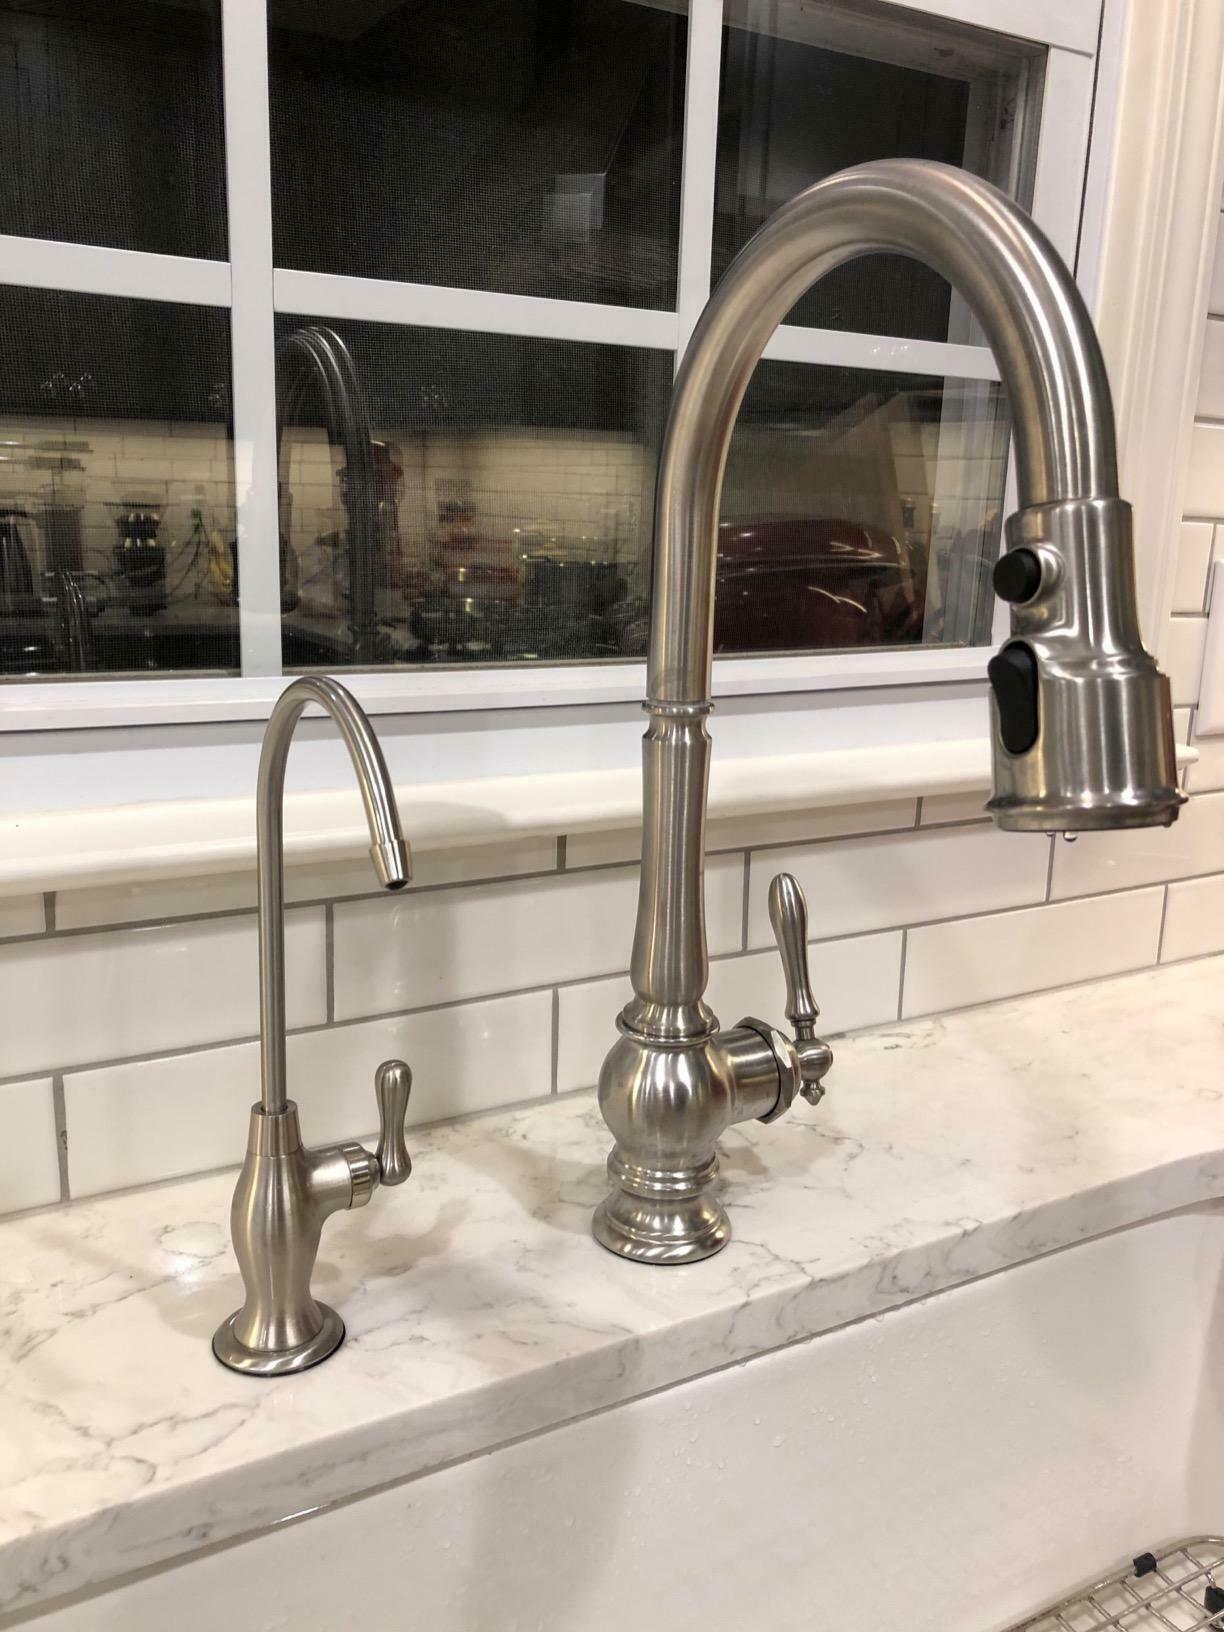
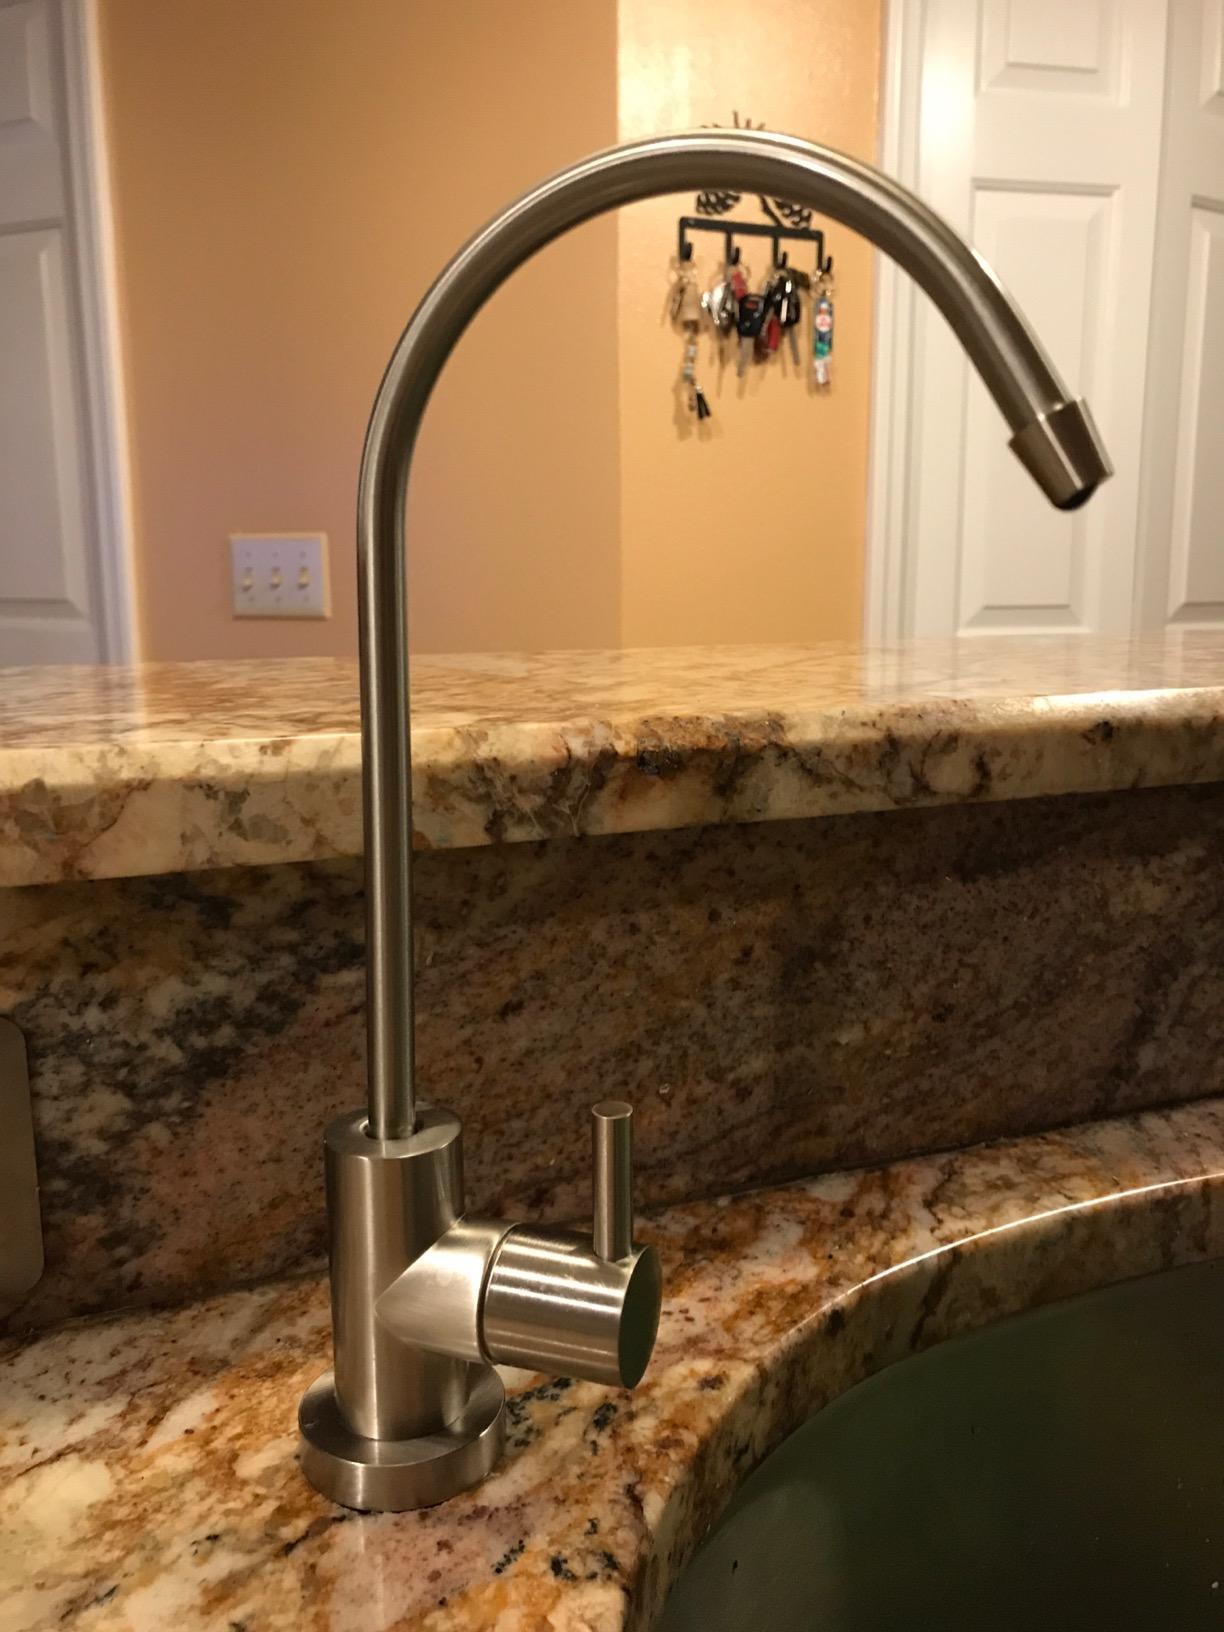
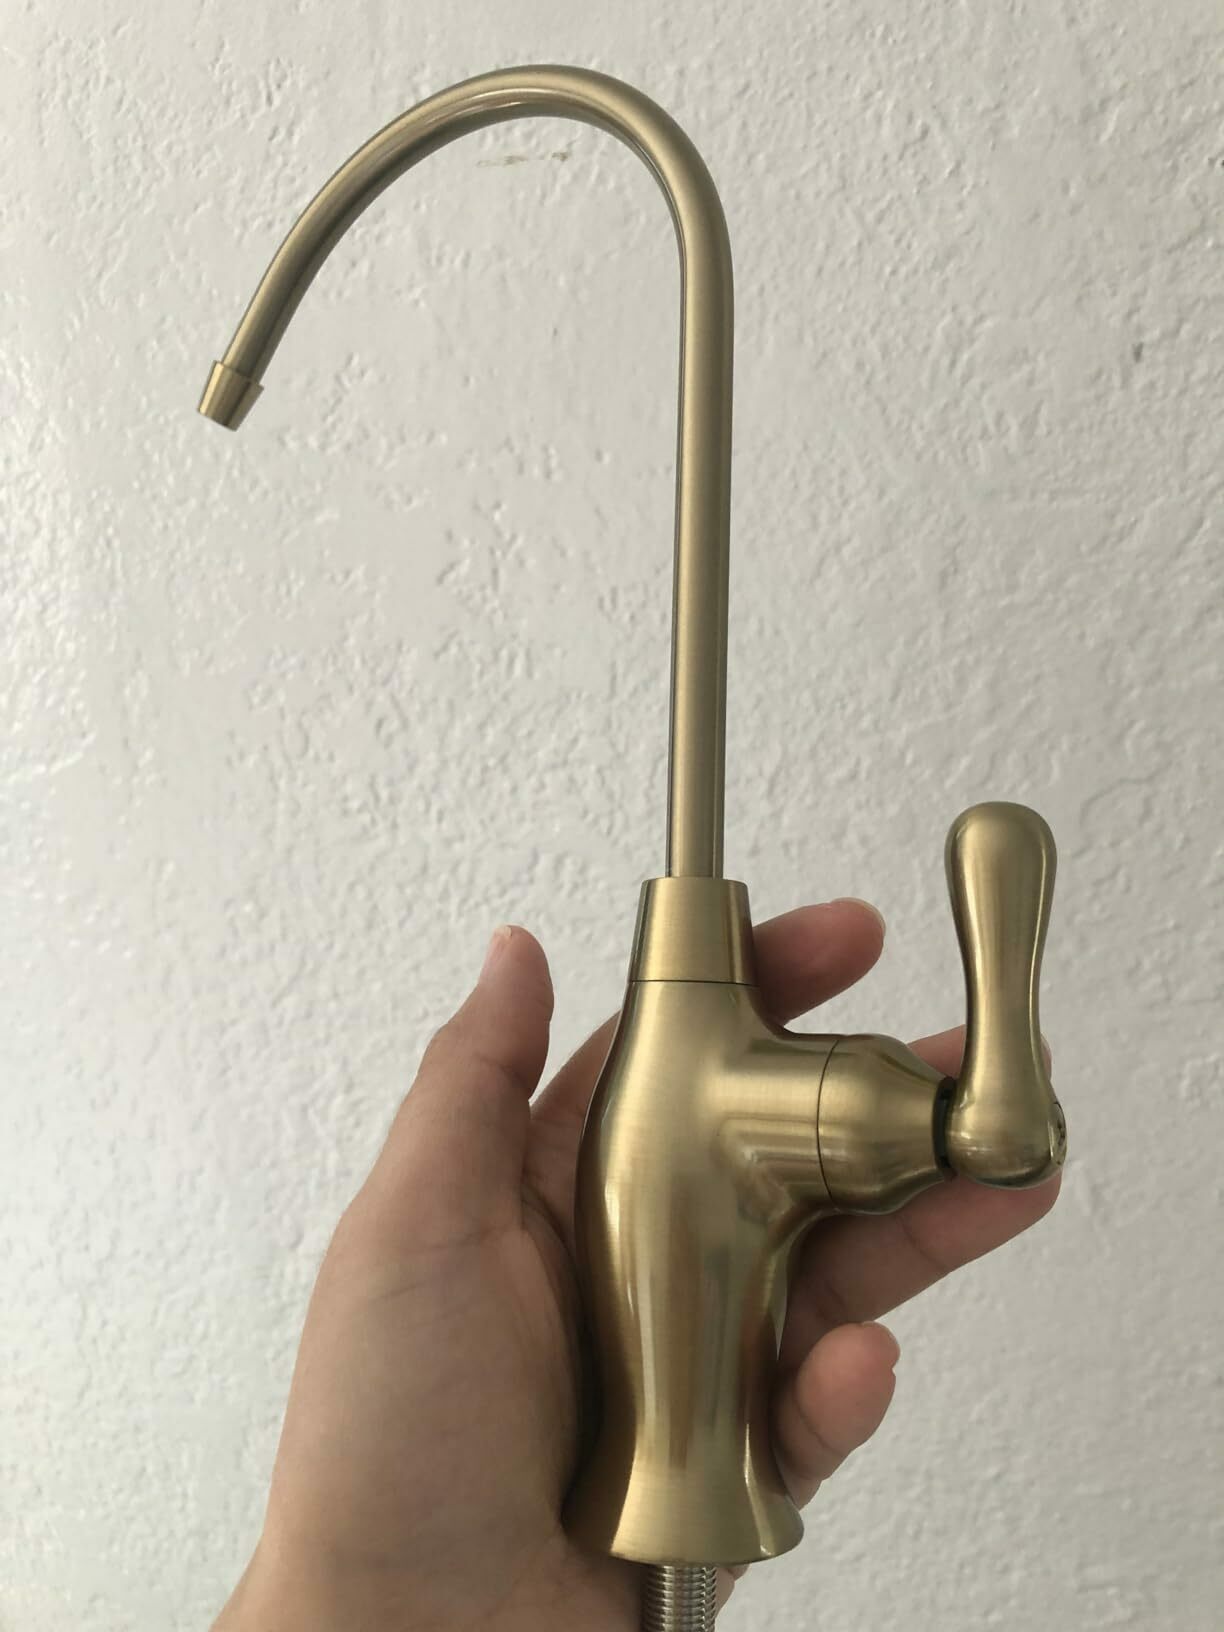
First things first, you've got to figure out what kind of faucet you're dealing with. This is super important for making sure your project goes smoothly. Before you go shopping or order a new faucet, take a good look at the one you've got. There are a few different types of kitchen faucets out there. You've got the two-handle ones and the one-handle ones, which are pretty common.
When you're replacing your faucet, it's best to get one that matches the one you're taking out.
However, replacing an old single-handle faucet with a three-handle or double-handle faucet is unfeasible; hence, this would require buying an extra component called an "escutcheon plate" that fits the new faucet and expands enough to hide the initial holes.
To figure out what you need, look under your sink and count how many holes there are and where they are. If you're swapping out the same kind of faucet, it should be pretty straightforward. But if you're changing things up, you might have to drill some extra holes to make everything fit.
Once your new faucet is in place, it's time to put everything back together. Screw all the nuts back on and make sure they're nice and tight so your faucet doesn't wobble.
Then, connect all the supply lines back to the faucet using their hoses. Just be careful not to mix up the hot and cold water lines.
Check out: Pro Tips for Ensuring Long-Lasting Fittings
Before you call it a day, you've gotta check for leaks under the sink. This will save you from wasting water and ending up with a weak faucet later on.
And once everything's back together, take a step back and look at your work. Did you do everything right?
If not, it might be time to call in the experts. It's always good to know when to ask for help!