Don’t you just love smooth, clean, de-cluttered surfaces in your kitchen? We sure do!
One of the things that take up these empty spaces is the soap dish or bottle, which is a nuisance especially as they are prone to falling and spilling.
Thankfully, technology has changed things for the better. Introducing, the built-in soap dispenser for kitchen sinks. It comes in various sizes and colors and fits right on your kitchen sink. This reduces the risk of accidental spills and removes the whole bottle by fixing it under the sink.
Installing a soap dispenser is as easy as any DIY project gets, and we’ve got the exact steps laid out for you. If your kitchen sink comes with an extra hole for the dispenser, great. If not, then we can handle that as well.
Let’s get into the nitty-gritty.
Preparing to Install a Soap Dispenser for Kitchen Sink
Now, before you begin, go over to your sink and see if there is a hole already drilled. If not, you will have to drill one to fix the soap dispenser.
There’s only one catch. The hole you drill depends on the material of your sink. If you have a steel kitchen sink, then you can easily drill through it with a common drill bit. However, if you have a porcelain sink or one made of stone, then it may be difficult to cut through them properly. These usually come with holes, but if yours didn’t then you will have to call a professional for help.
Steps to Install Soap Dispenser

First, here’s what you’ll need for the installation:
- A wrench
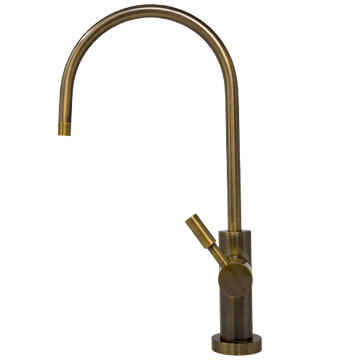
- A Soap dispense for kitchen sink.
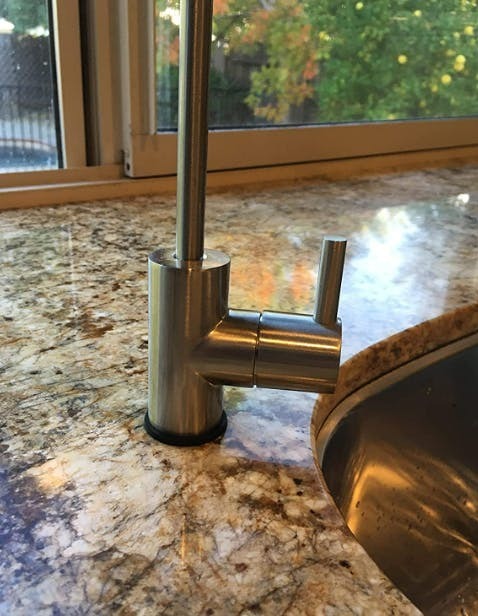
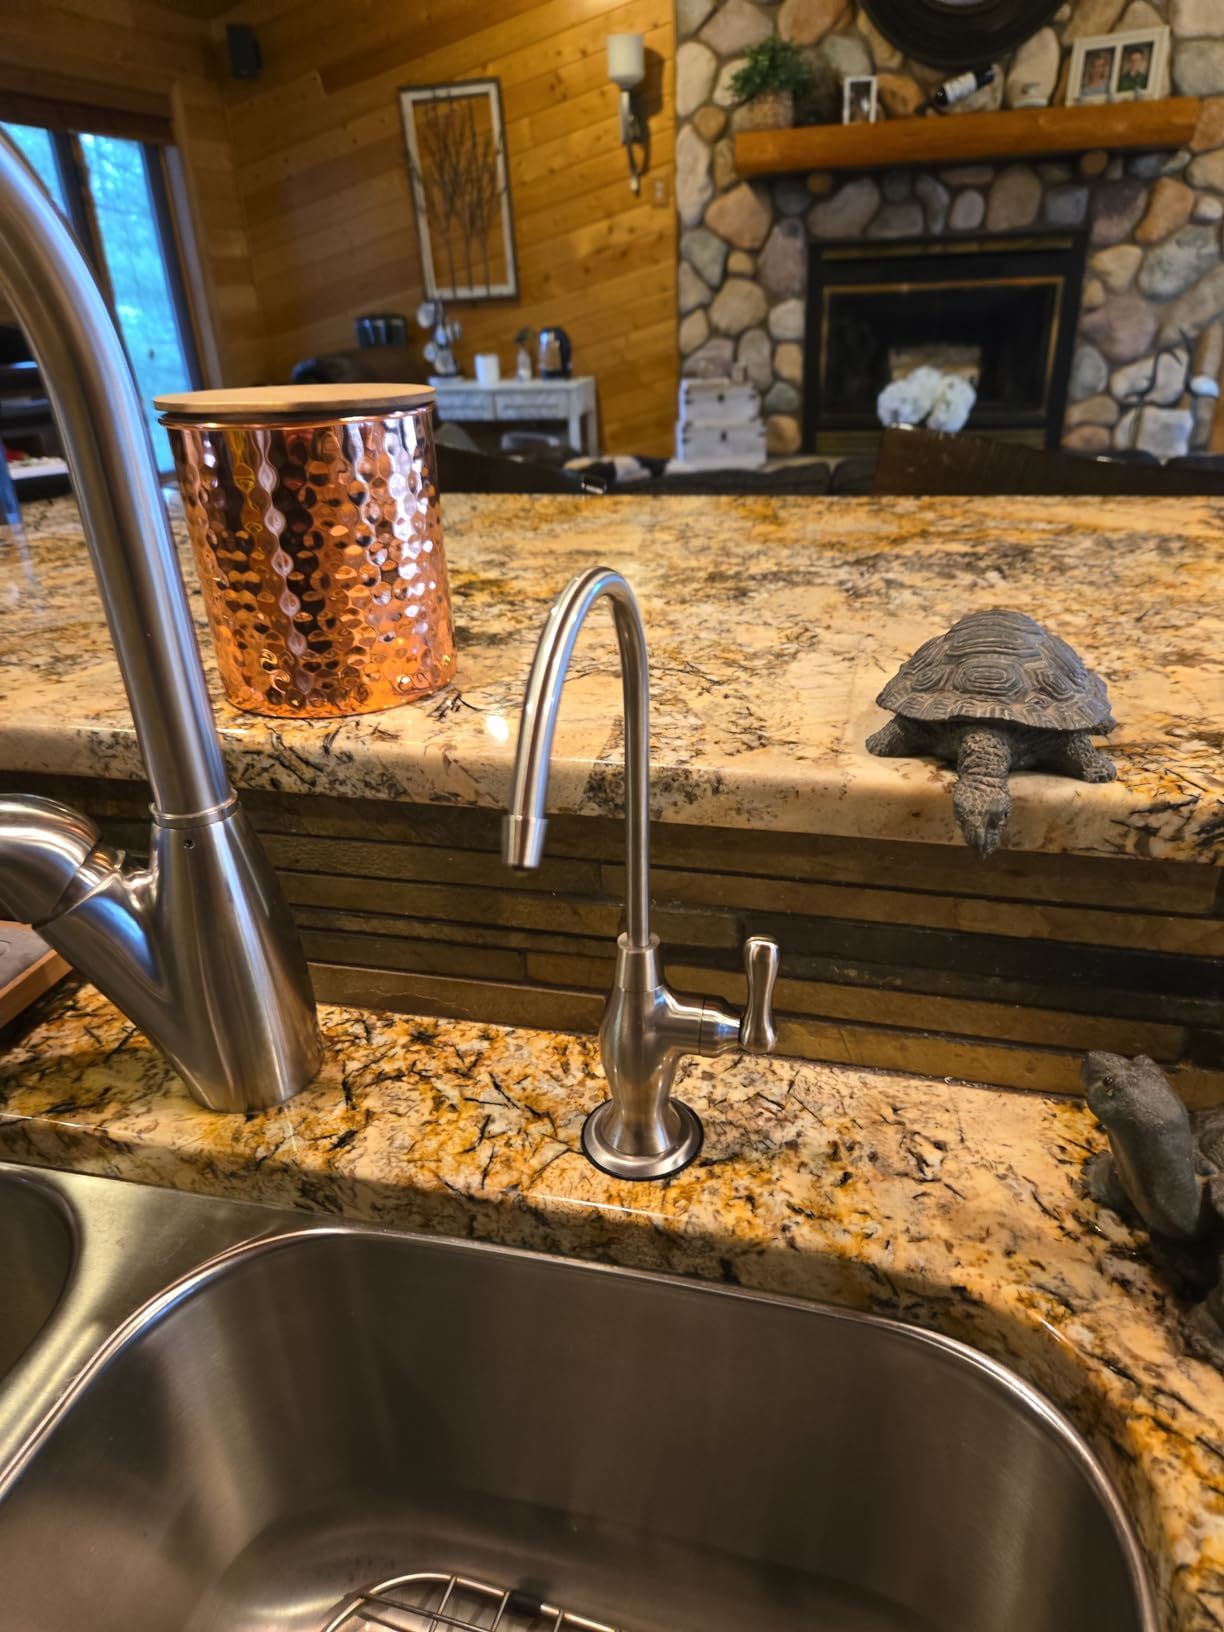
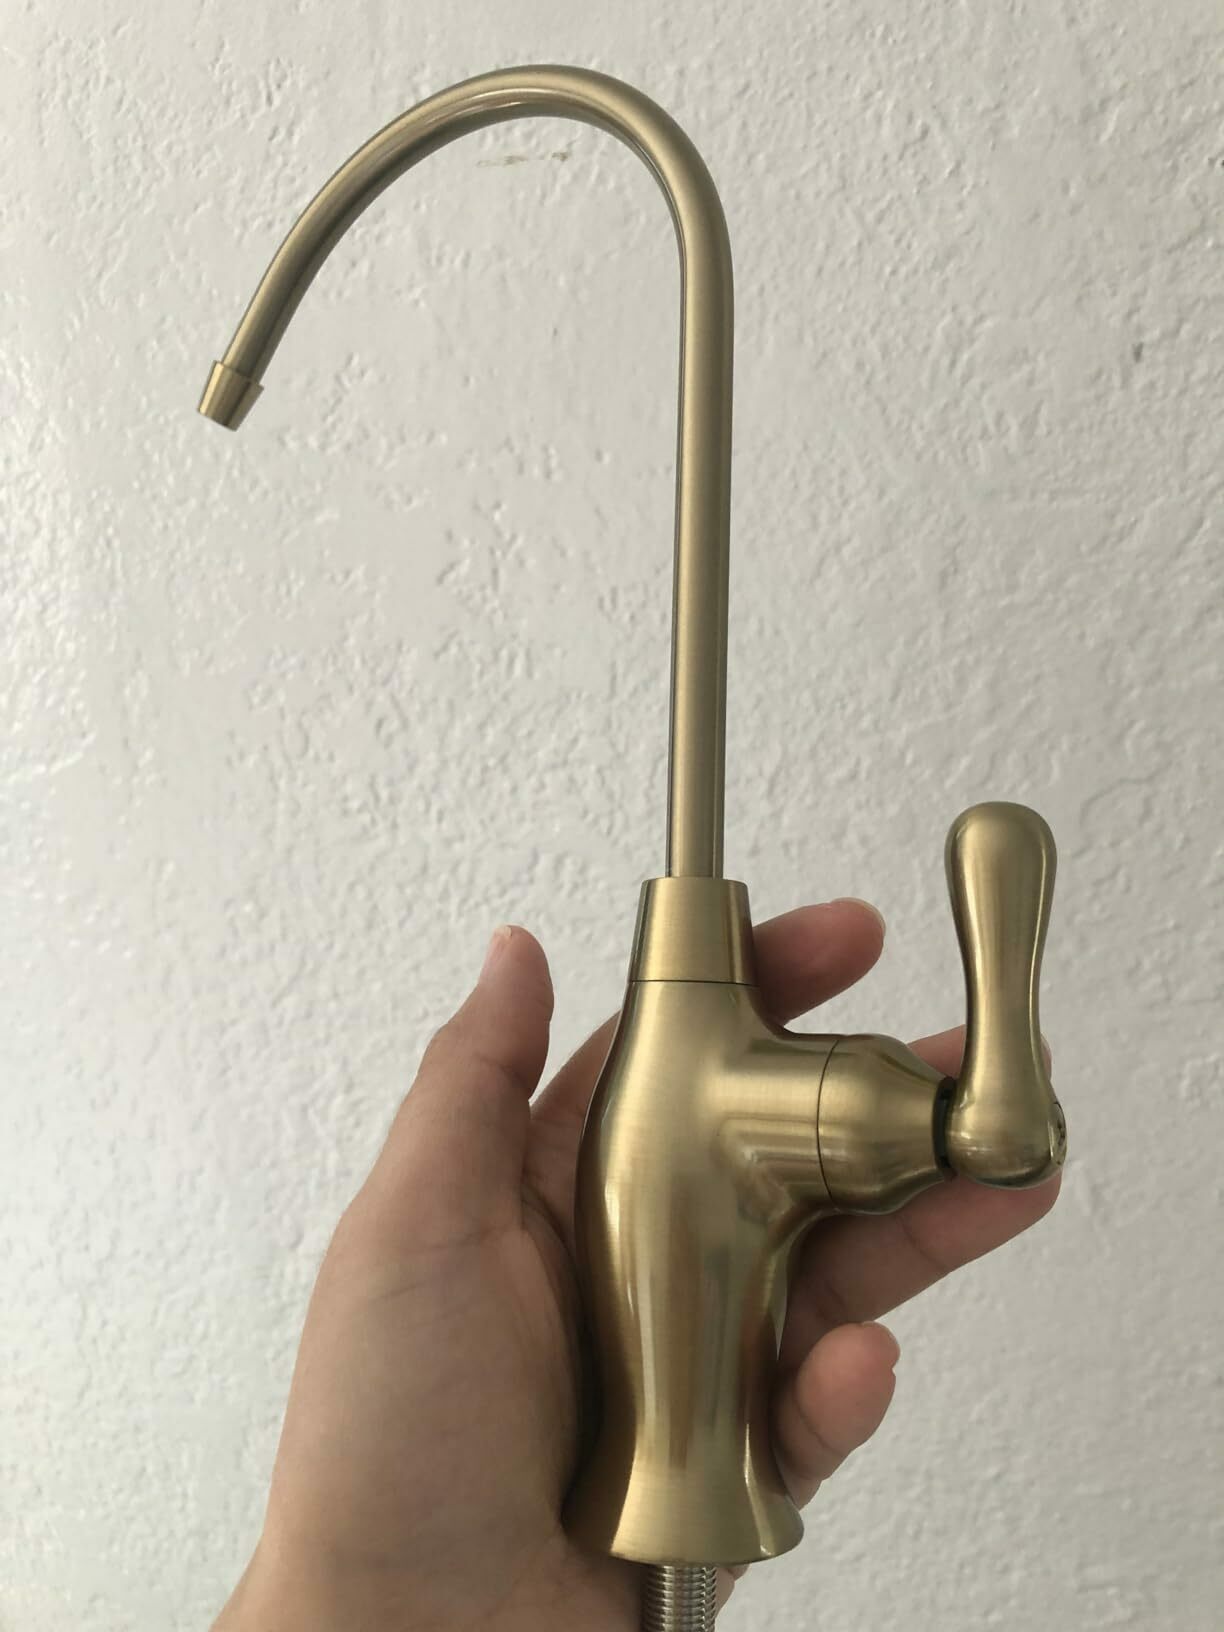
Step 1. Insert the Handle into the Dispenser
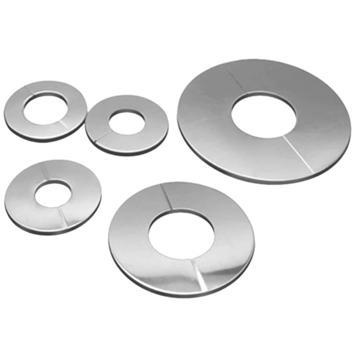
Once you’ve drilled the opening (if you need to), insert the dispenser pump handle through the metal plate (escutcheon) and fit it into place with the washer that came with the dispenser kit.
Step 2. Position the Dispenser
Ensure that the dispenser is not placed at a tilt. The bottle or container of the soap liquid is usually smaller than the hole in the kitchen sink, which leaves room for movement. Center the dispenser to make sure the liquid doesn’t spill later.
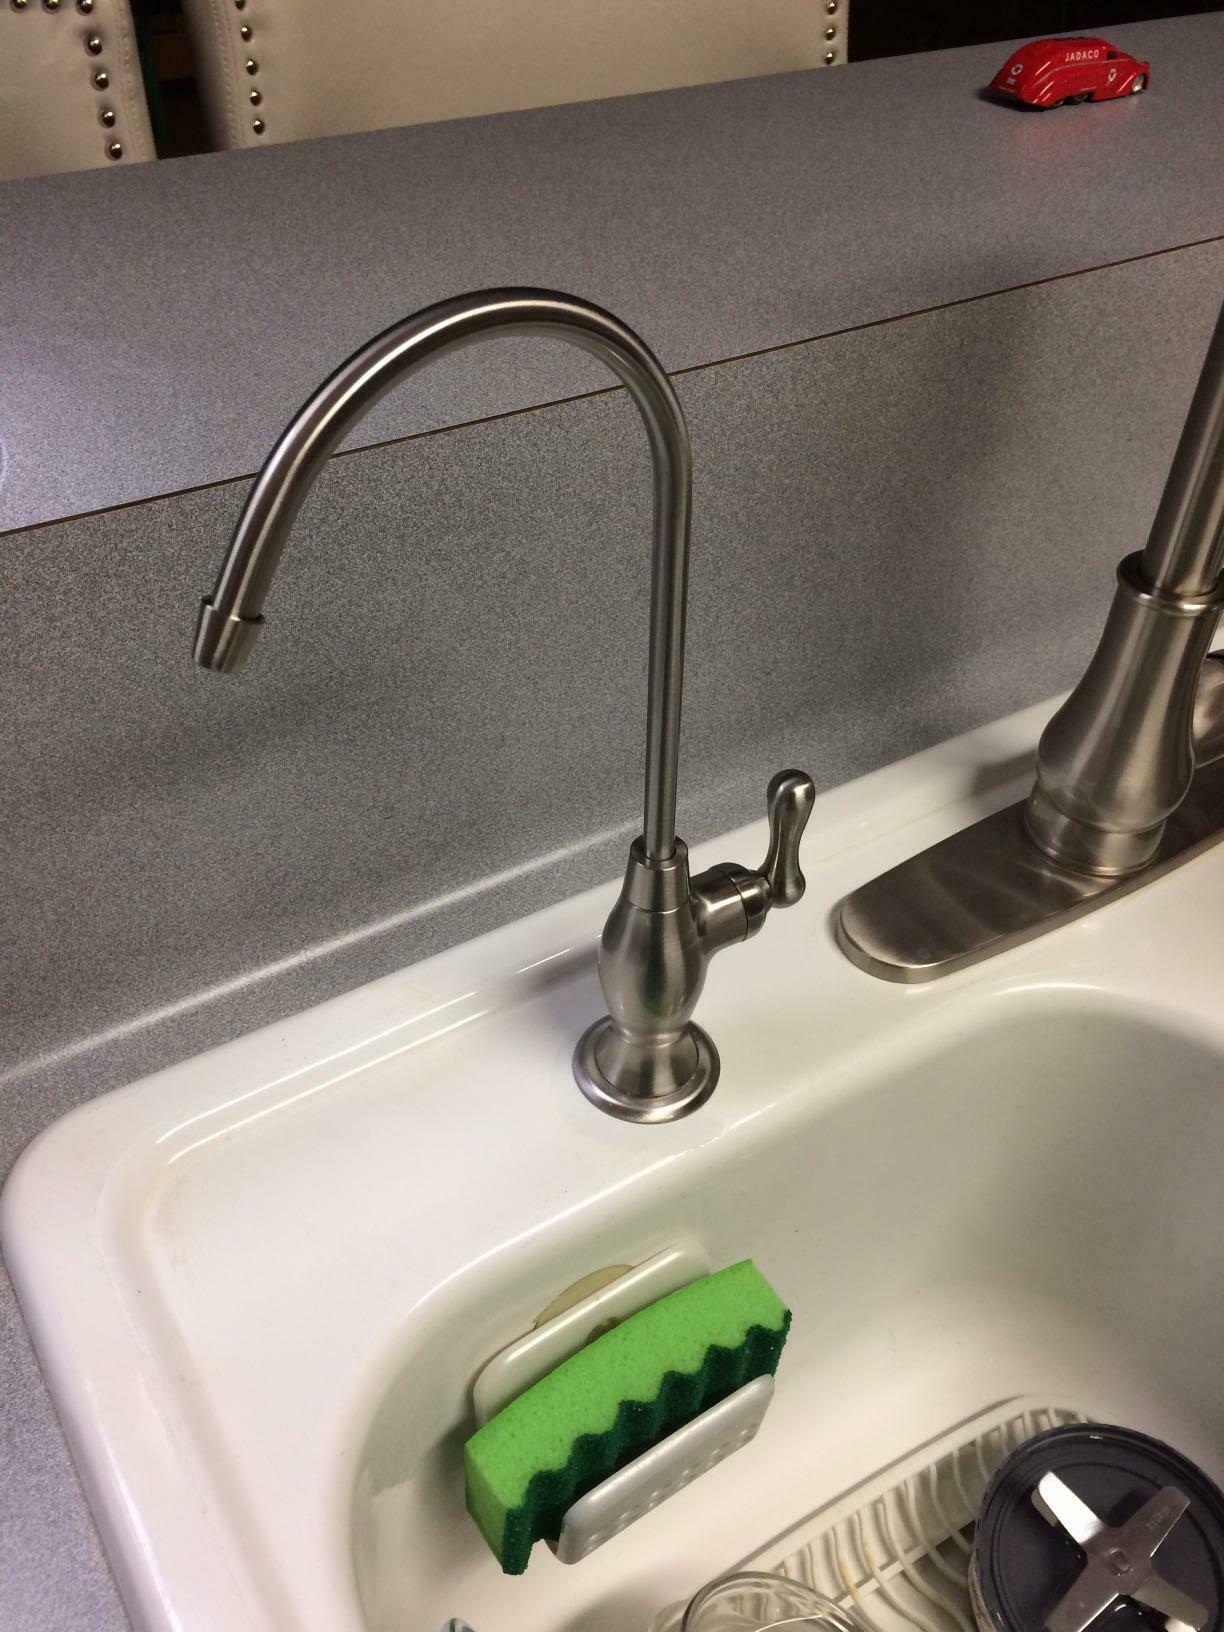
Step 3. Tighten the Nuts
Next, you will need to secure the dispenser housing in place from the bottom of the sink. Place the nut on the tail of the dispenser and twist it to tighten. Make sure the dispenser is placed in the right position from the top. Use the wrench to completely fasten the nut on the dispenser.
Step 4. Attach the Soap Bottle
Fit the soap bottle in the housing under the sink and tighten it slightly until it’s securely in place.
Step 5. Add the soap
Finally, you can add your desired liquid soap through the entry point on top, by removing the pump. You can use a funnel to let the liquid pour in without spilling.
FAQs
What is the cost of installing a soap dispenser?
Installing a soap dispenser is relatively cheap if you don’t have to drill a hole in your sink. However, if you do have to drill the hole and want to hire someone for the job, it will cost you anywhere from $100 to $300 and above.
What’s the correct way to fill the soap dispenser?
The built-in soap dispenser for kitchen sink is the same as a countertop bottle of liquid soap, the only difference being is the former is fitted under the sink. You can fill it by removing the dispenser pump from the top and pouring the soap in, ideally using a funnel. Another way you can fill it is by removing the bottle from under the sink, filling it, and then screwing it back in place.
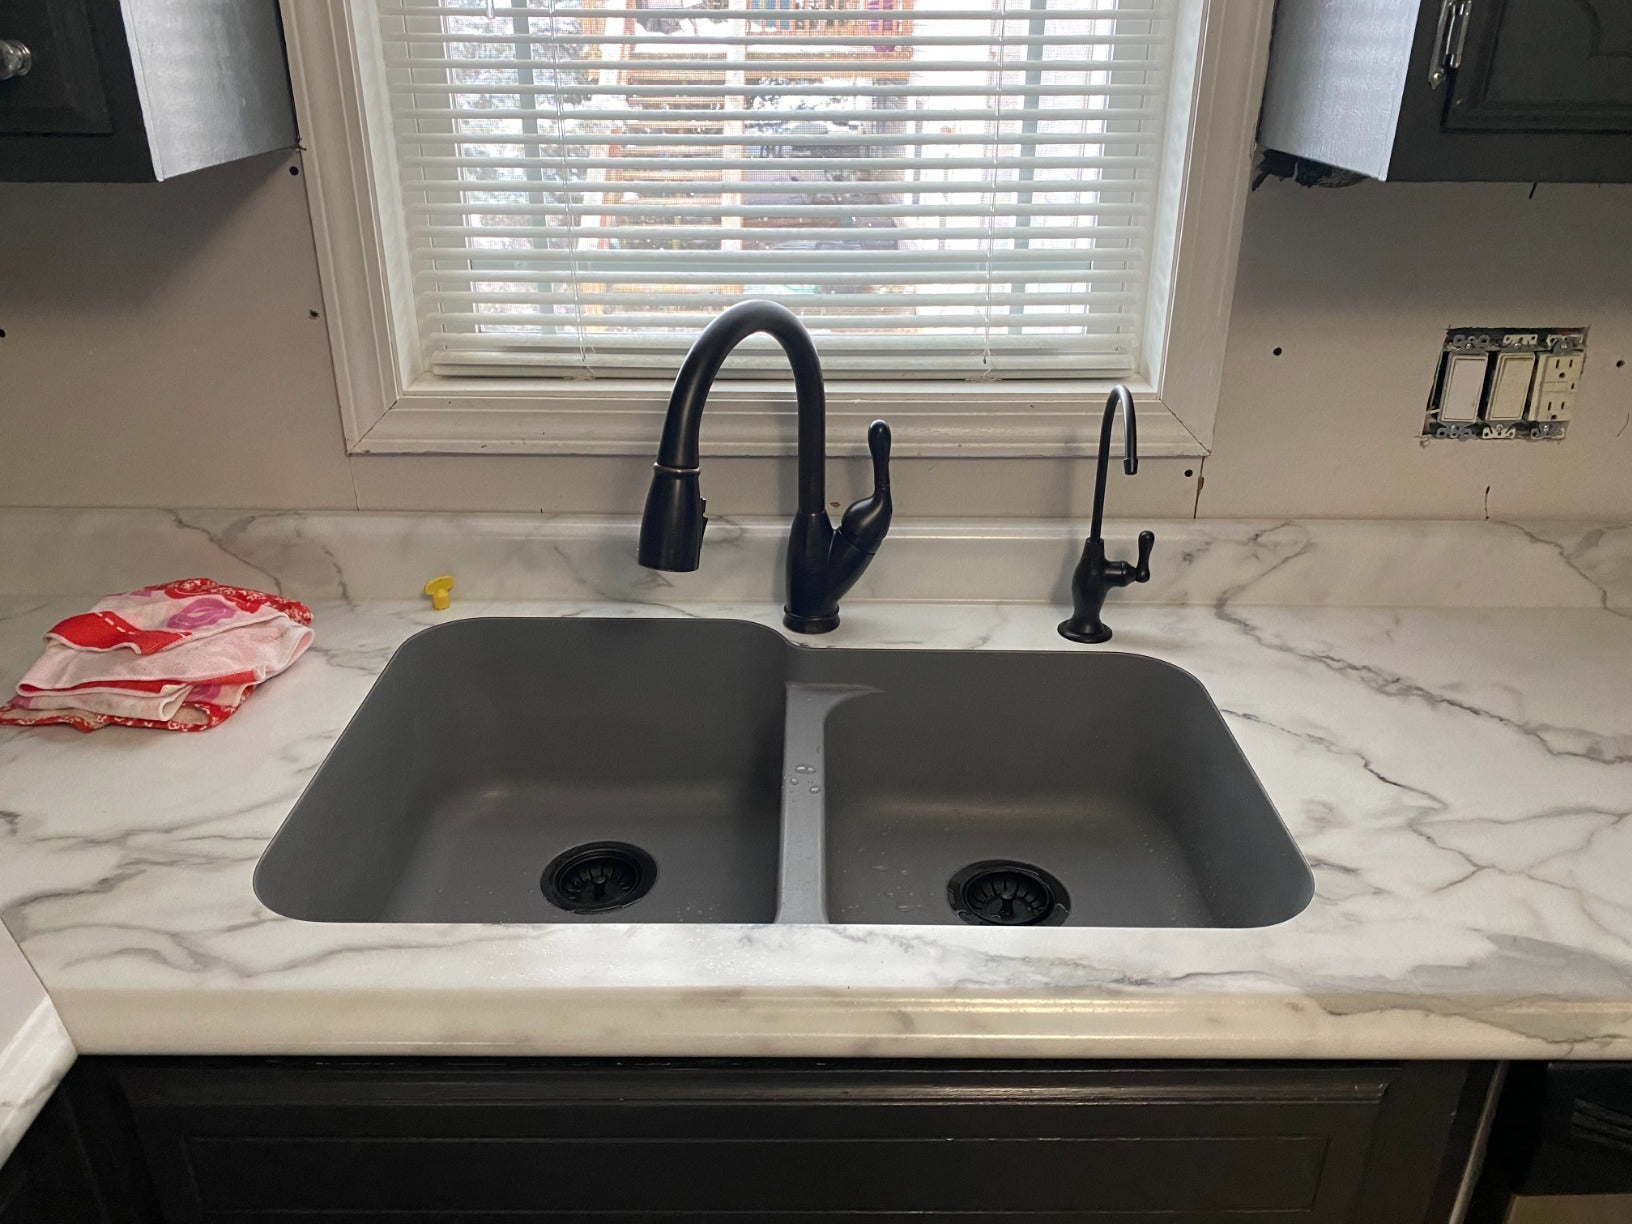
Where should the soap dispenser be placed on the sink?
This completely depends on the design of your sink. Regardless of if you have a single sink or double sink, place the dispenser on the side you like to wash the dishes in.
Conclusion
In this guide, we discussed all the steps needed to install a soap dispenser for kitchen sink in 5 steps without a plumber.
It’s a simple procedure that takes minutes and makes for a great DIY project if you are into those even a little bit.
For more such guides, keep following the Metpure Blog.